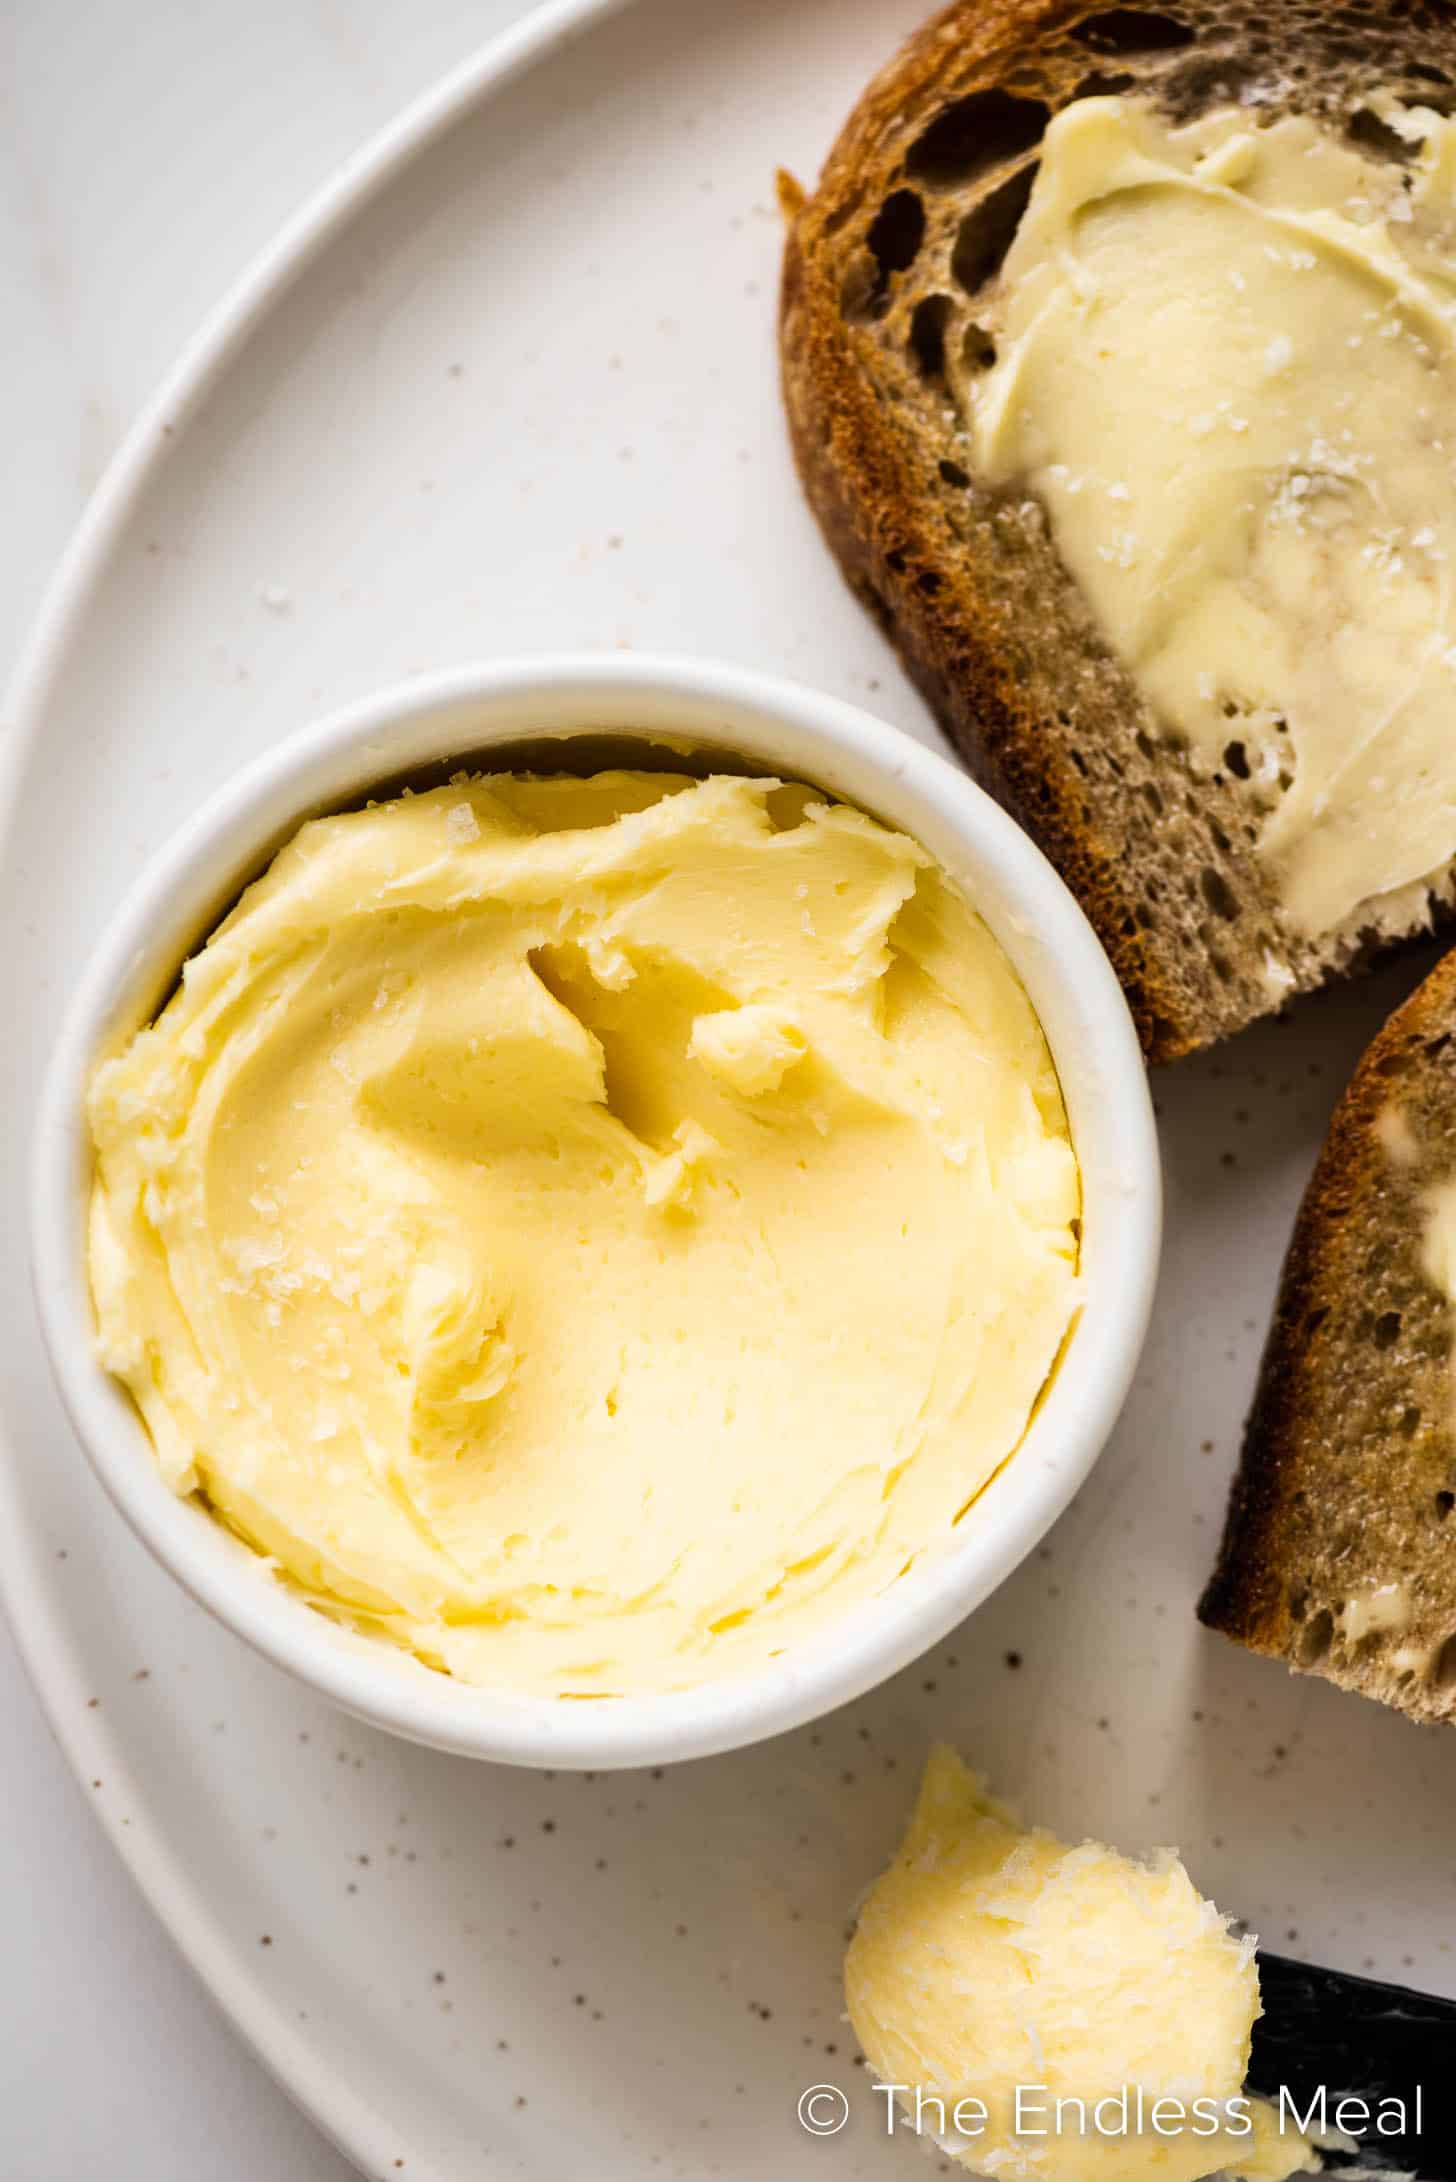
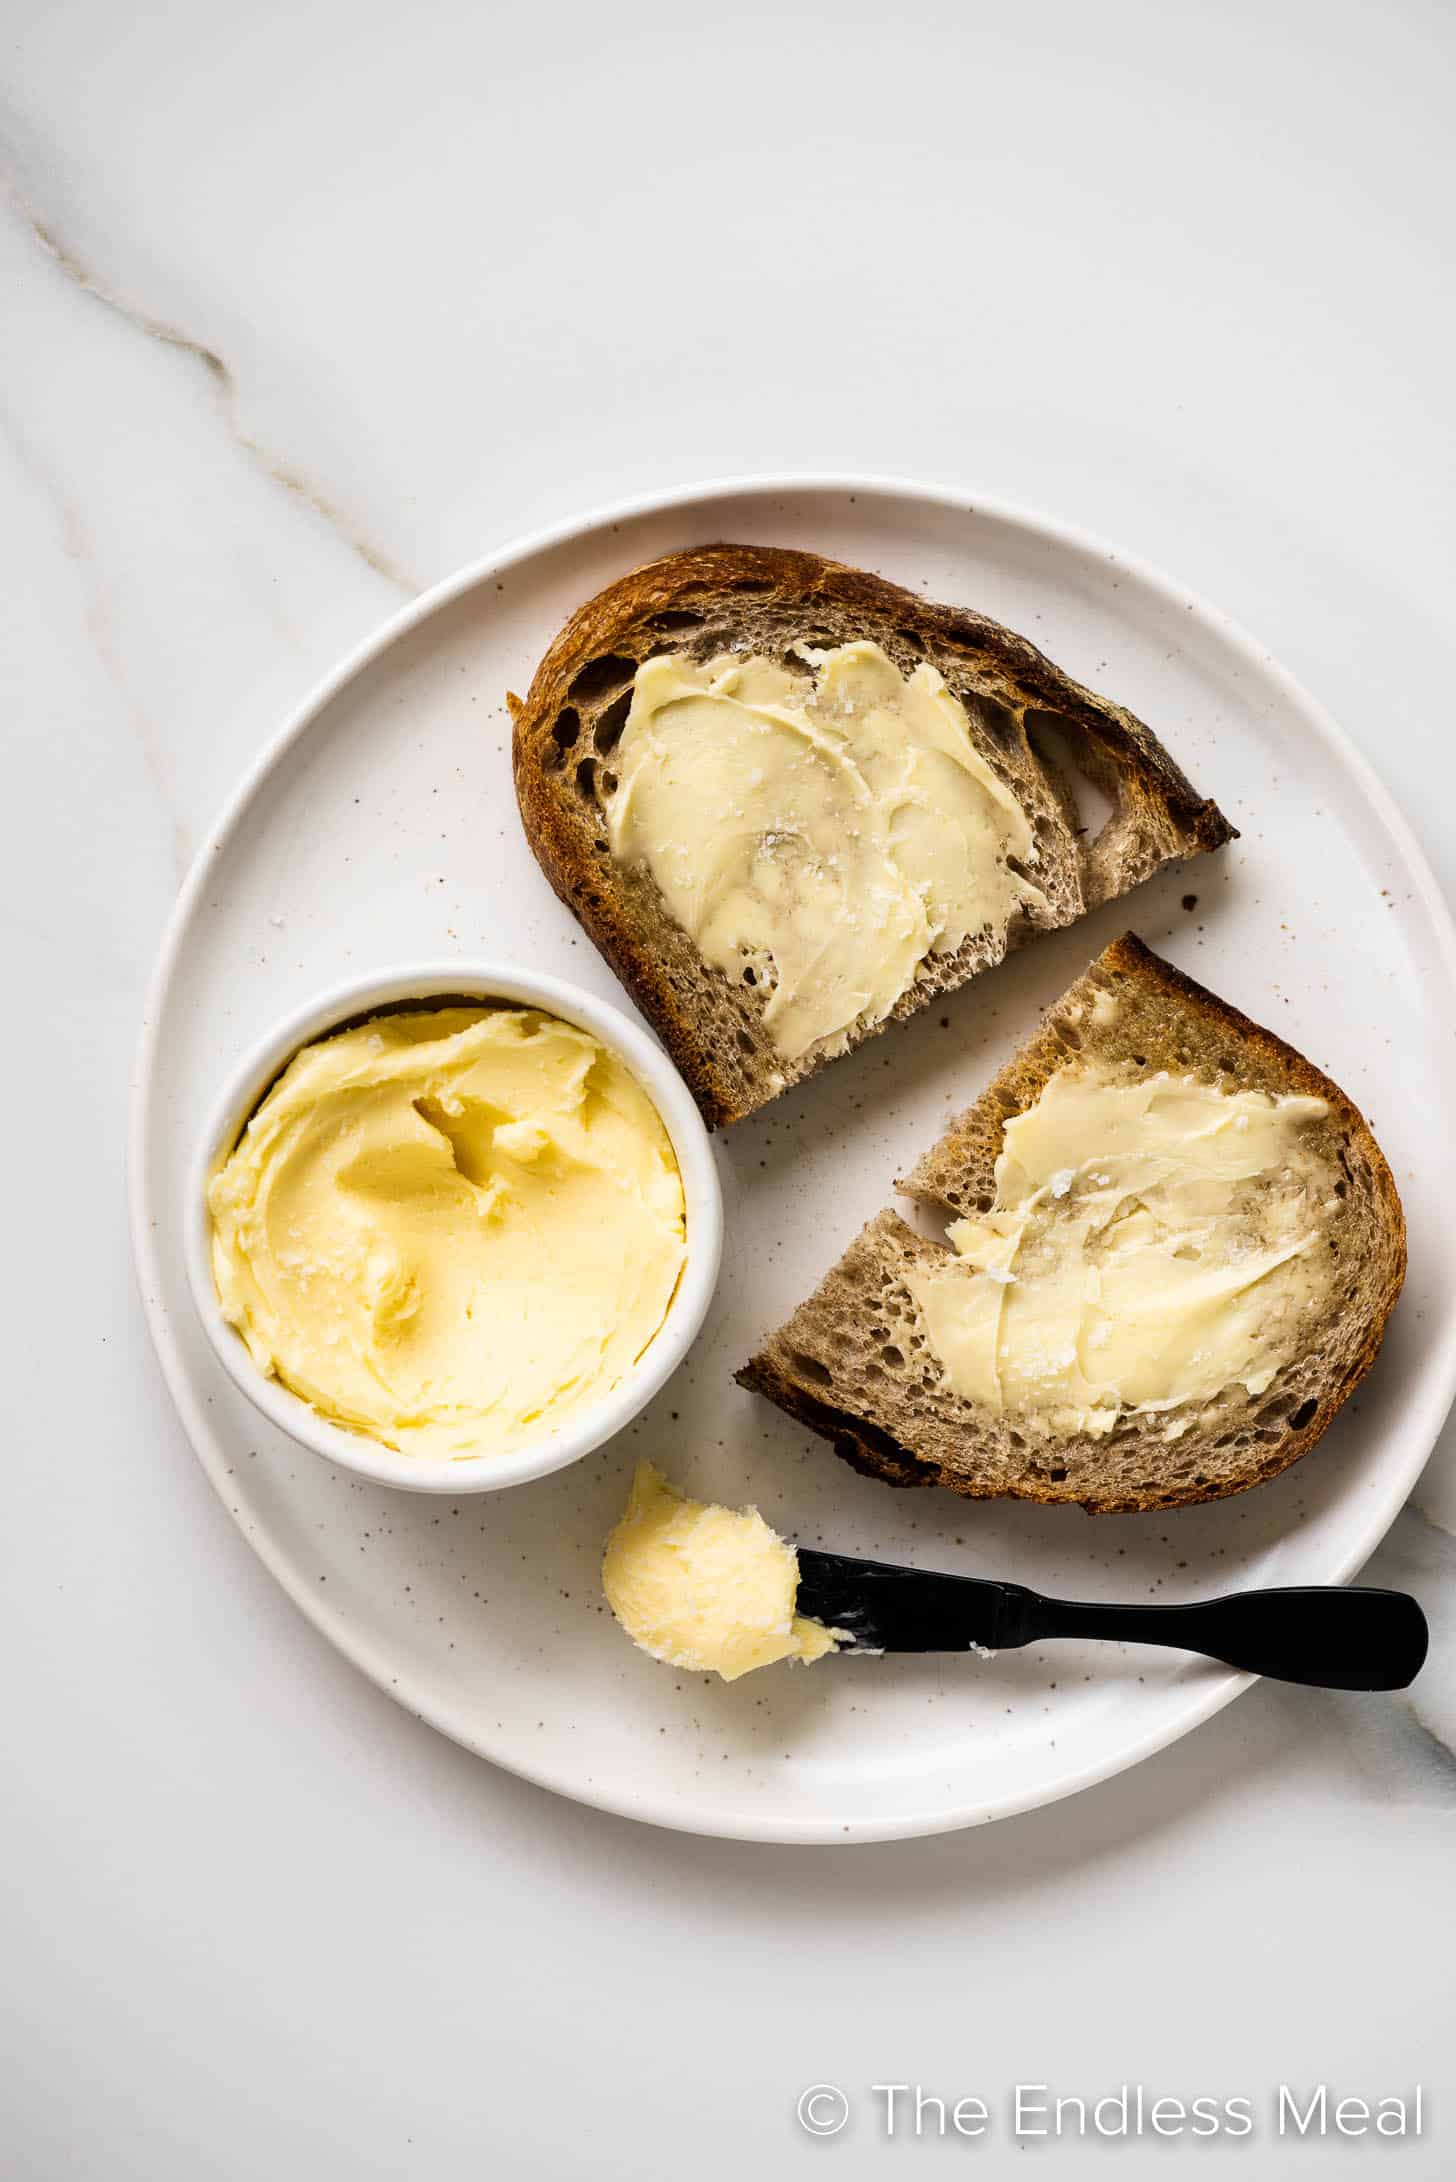
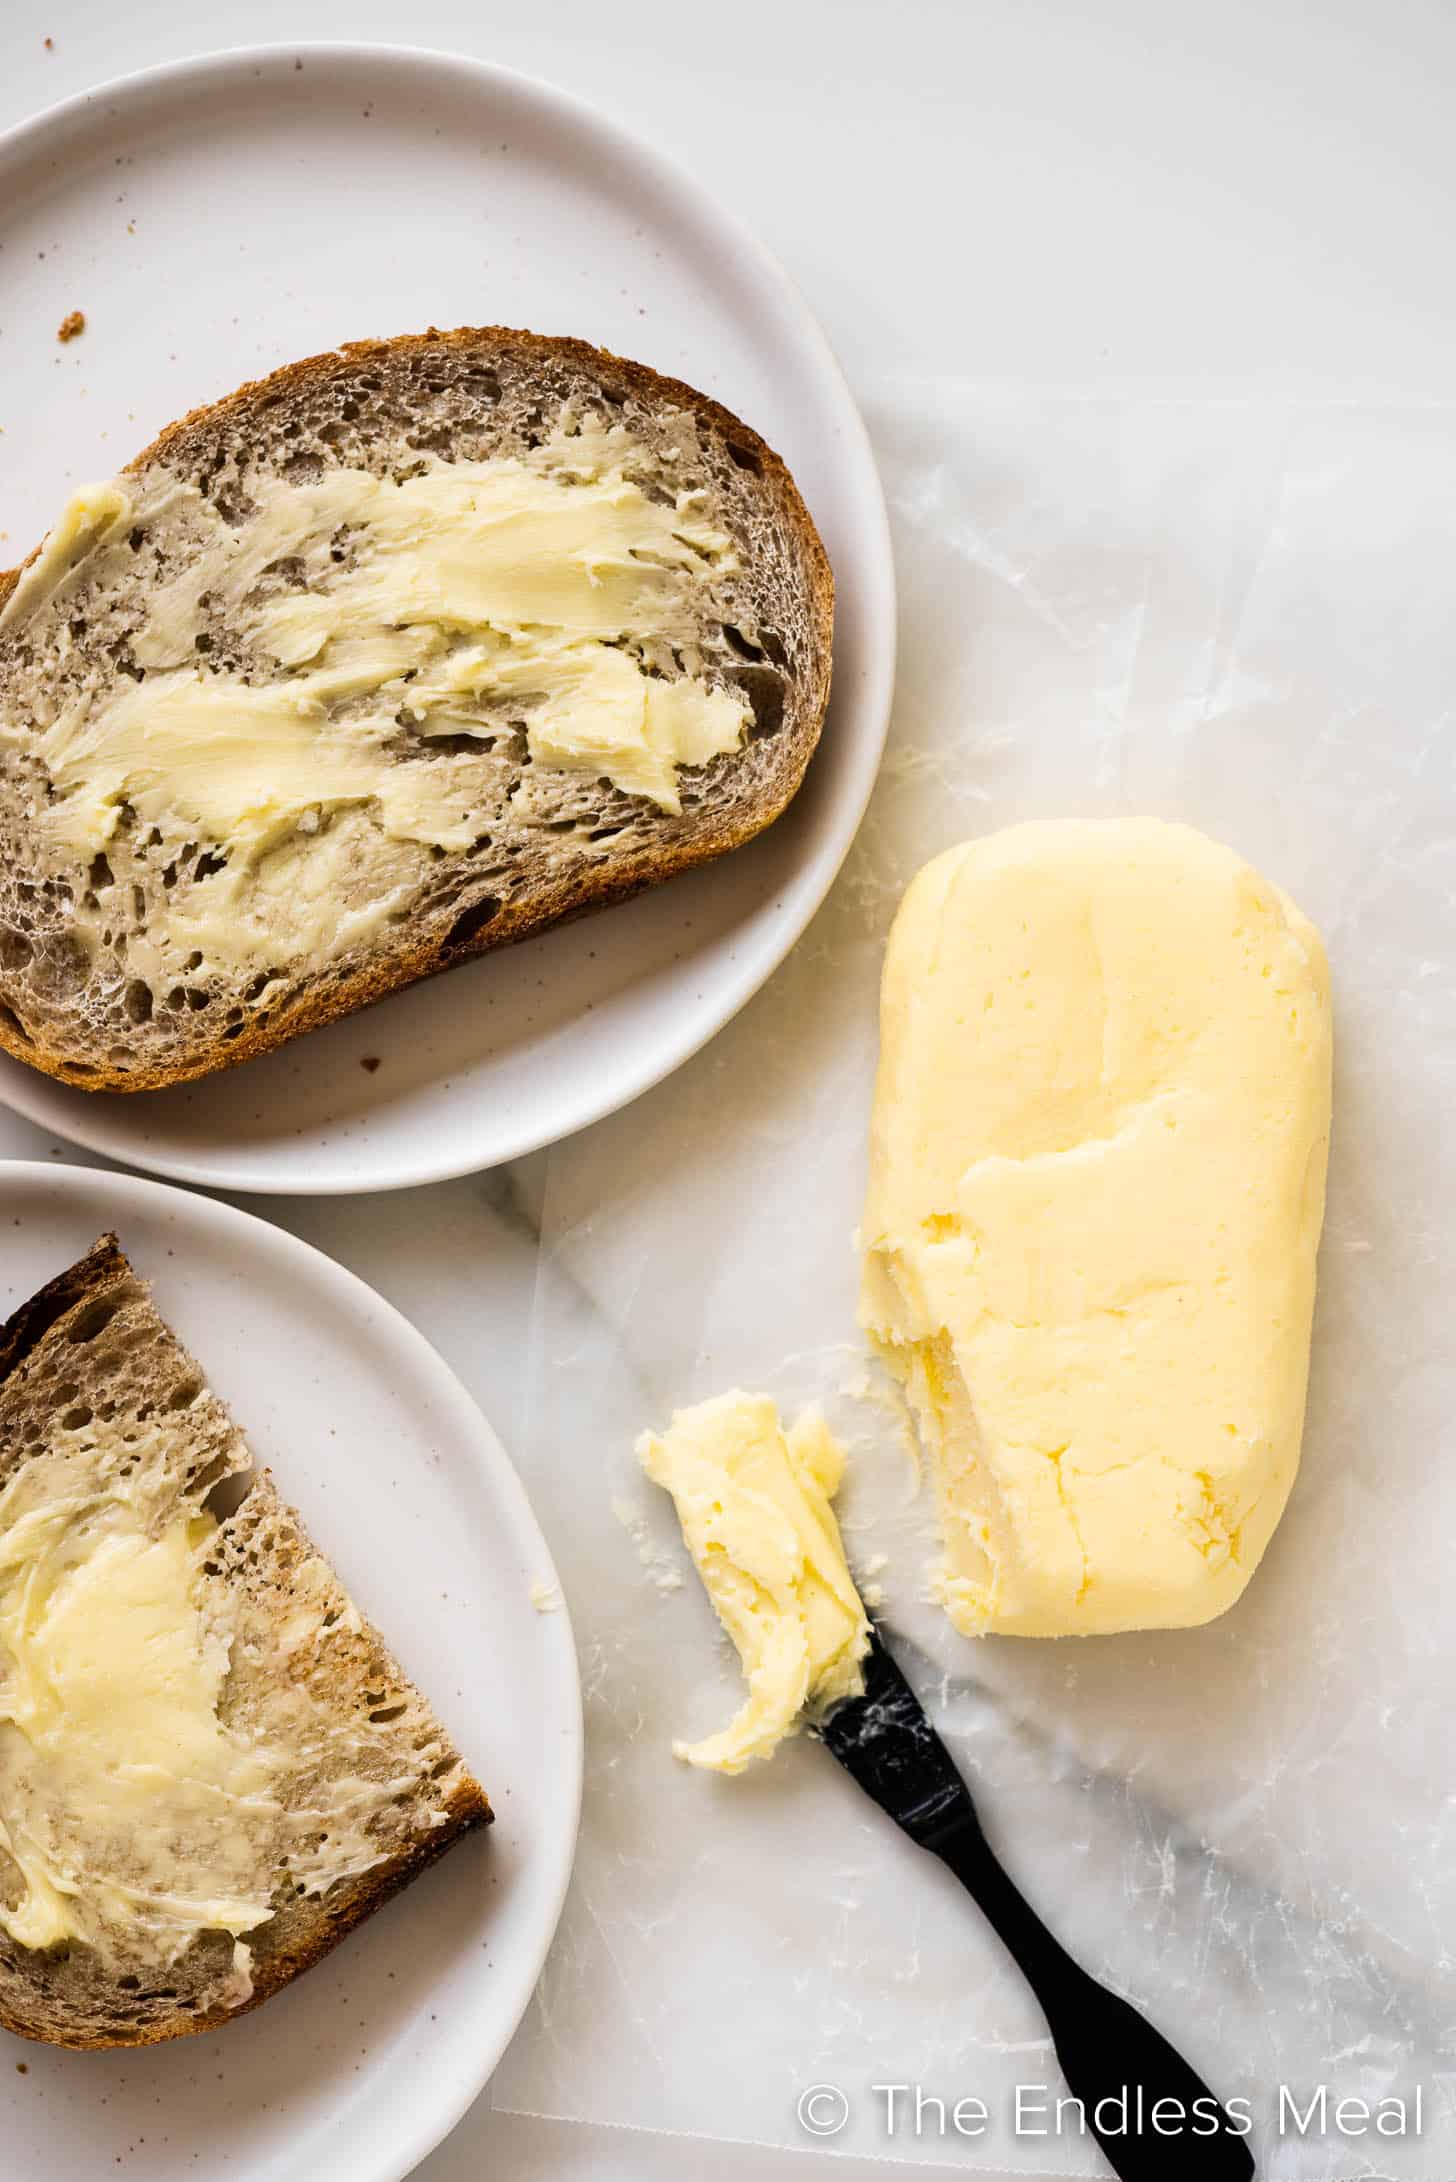
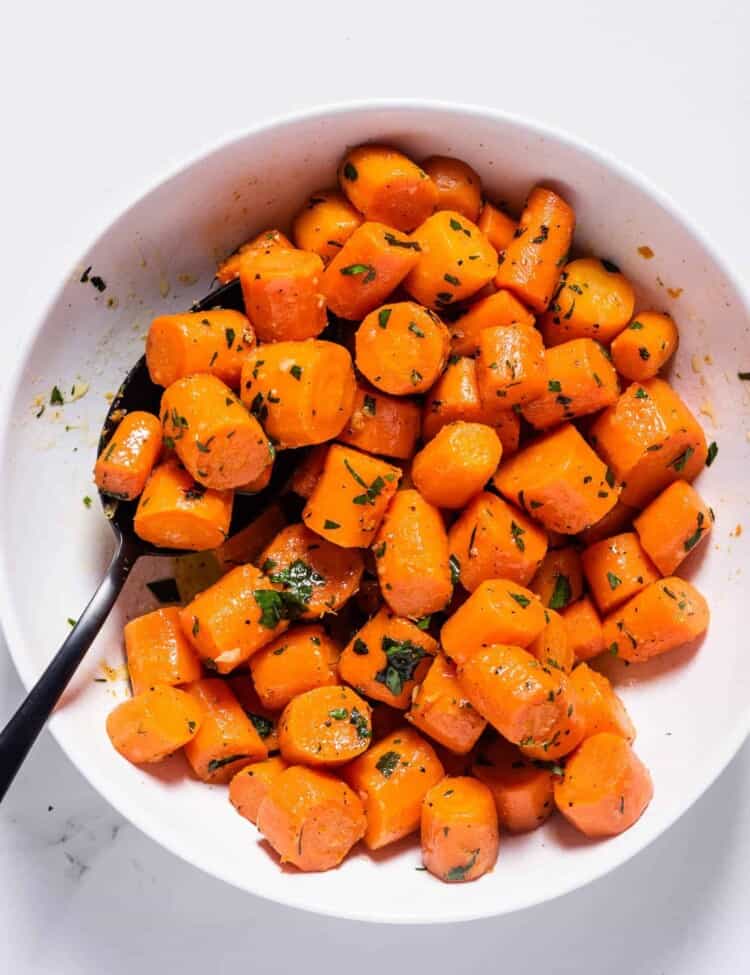
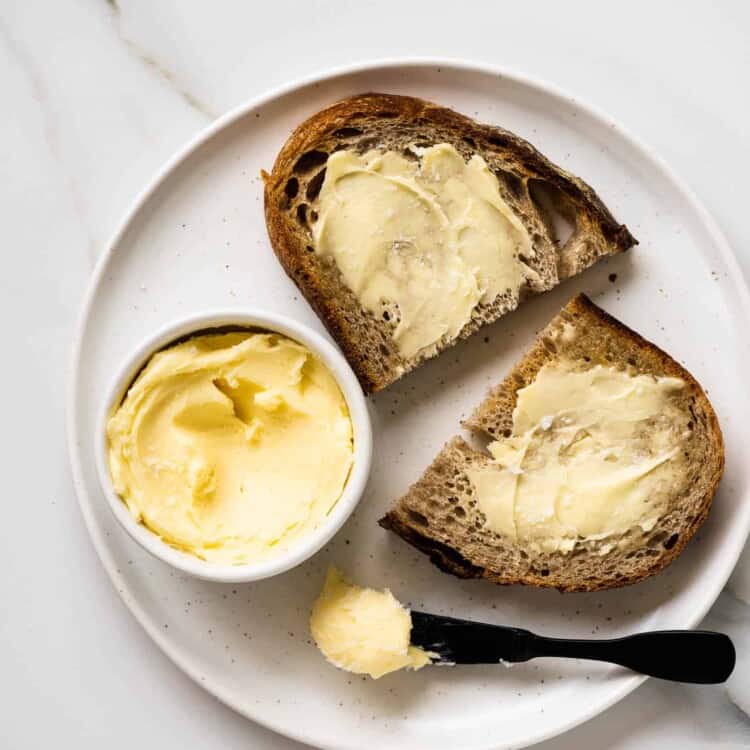
Enjoy a smear of homemade butter on a slice of our whole wheat Irish soda bread or chocolate chip walnut banana bread. Sometimes we like to take shortcuts in the kitchen, but making homemade butter is so darn delicious that it’s worth the extra effort. It ranks among one of those worthy kitchen tasks along with homemade spice blends and chicken stock. It tastes so much better than store-bought that you may never go back to buying conventional butter again. It’s also a fun and easy activity to do with kids!
You only really need one ingredient to make homemade butter – whipping cream. We like to add a little sea salt, but that’s a personal preference and totally optional!
Whipping cream – this is a time for finding the best quality cream you can get your hands. Like anything with food, the higher quality the ingredients, the better it will taste. Organic, grass-fed cream will yield butter with the best flavor, color, and nutritional profile. But even conventional cream will give you delicious tasting butter. Sea salt – the salt is optional, but it’s delicious and enhances the flavors. It can also act as a preservative and extend the shelf life of your butter.
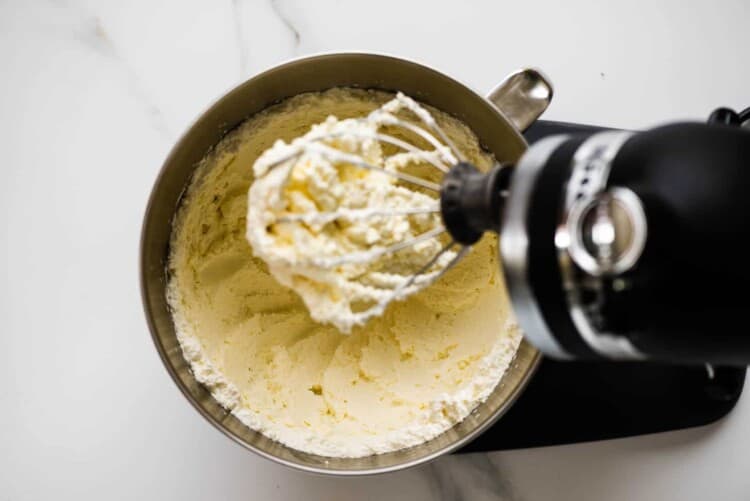
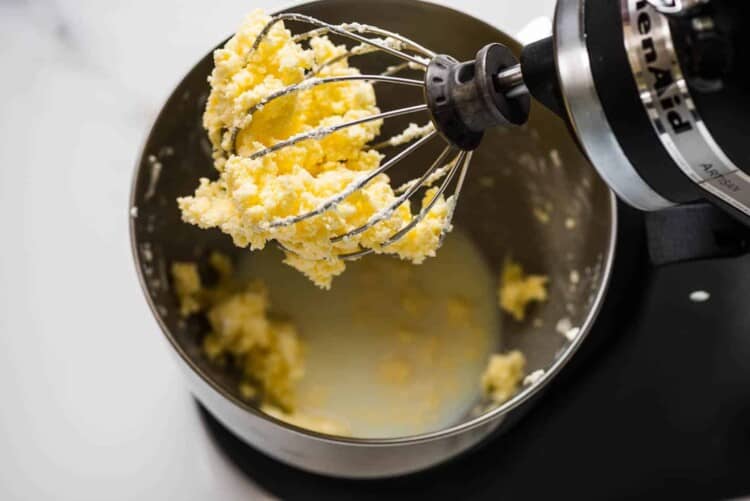
1. Prepare it using the stand mixer
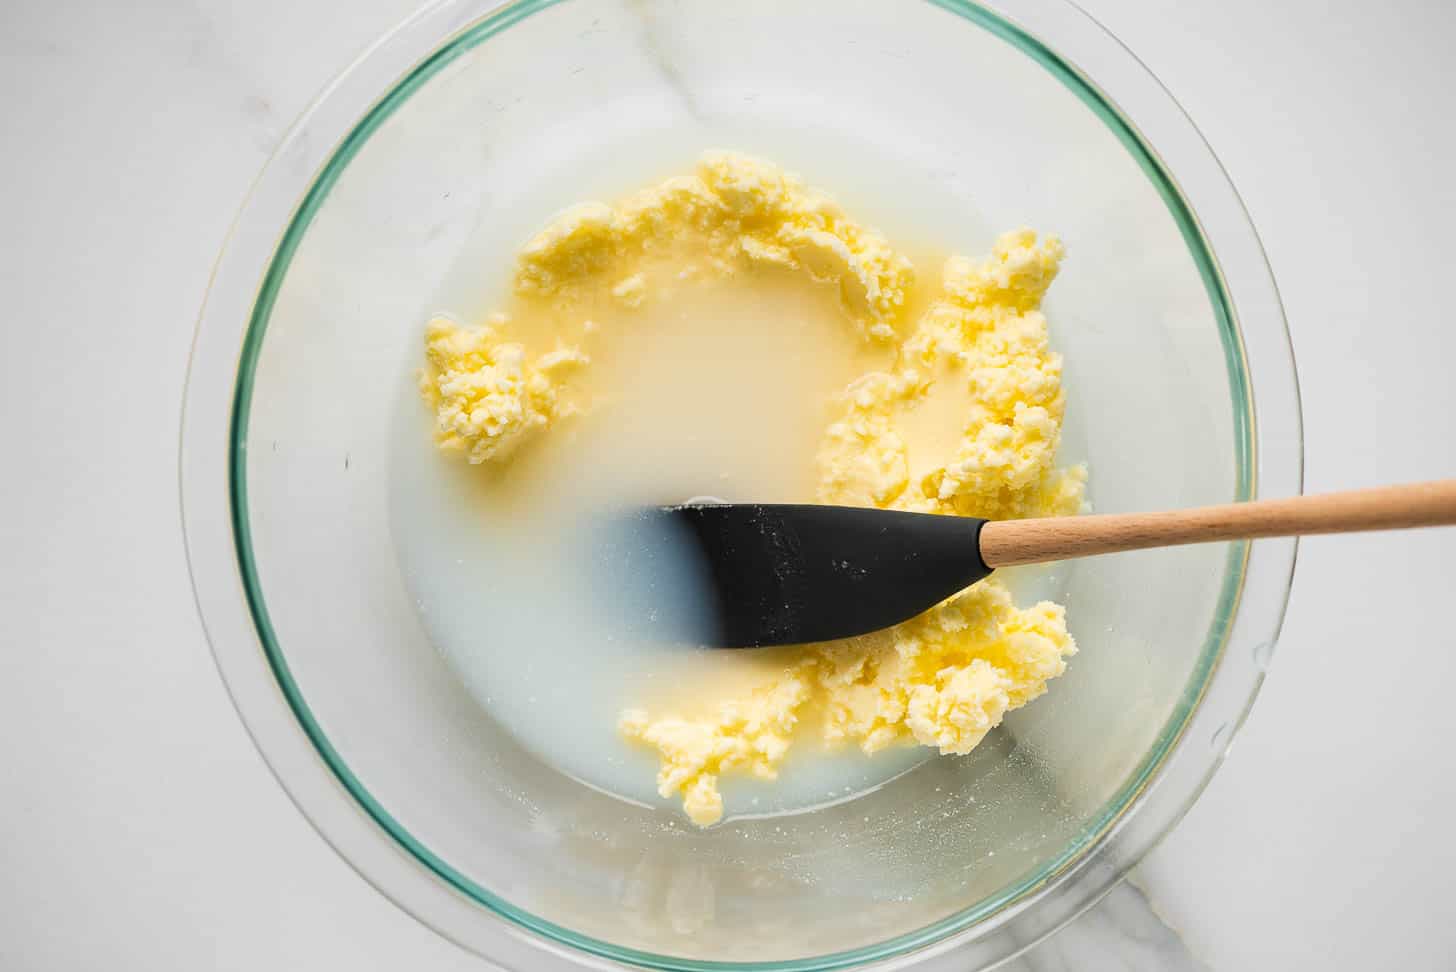
Begin by pouring the cream into a large bowl, or the bowl of your stand mixer. Using the whisk attachment, beat it at medium-high speed until it becomes thick whipping cream. Now, reduce the speed and keep churning until it separates. You’ll know you’re onto something when the butter starts to stick to the beaters. The liquid is the buttermilk! Tip: you may want to cover your bowl at this point to prevent splatters.
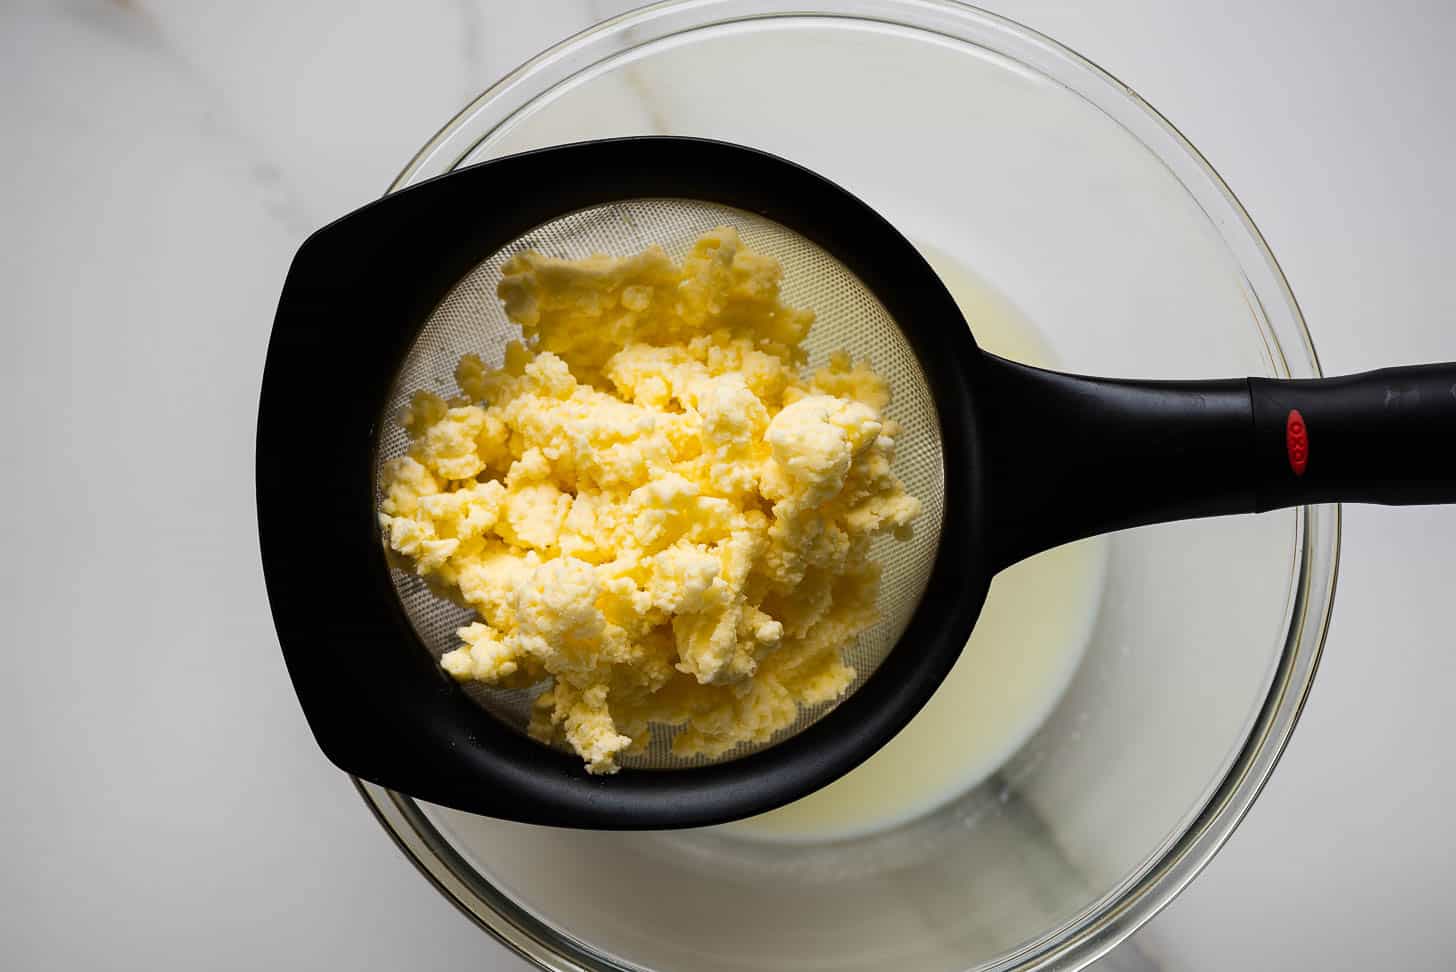
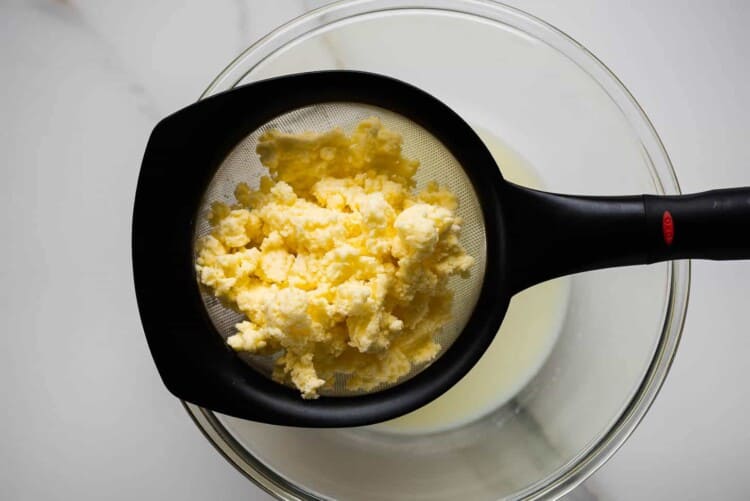
2. Strain with a fine-mesh sieve
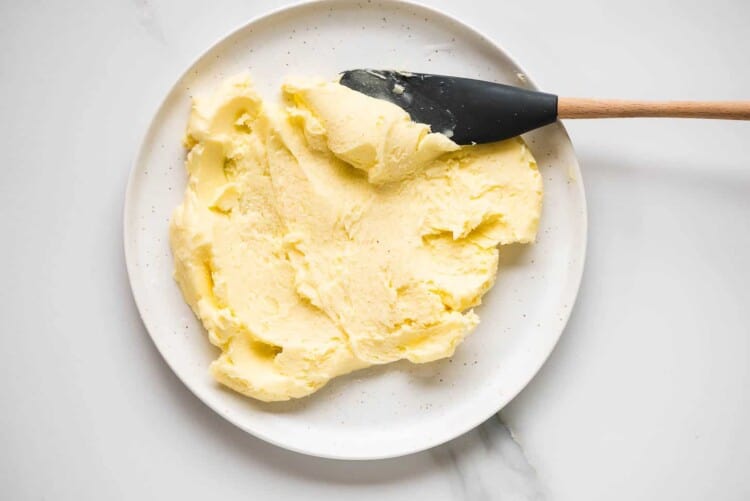
Now it’s time to strain off the buttermilk. Set a fine-mesh sieve over a bowl and carefully pour the liquid through it. Make sure to pour the buttermilk into a jar or container and store it in the fridge. Next, it’s time to rinse the butter. Place it into a clean bowl and pour cold water over the top. Use your hands or a spatula to knead the butter and rinse away any remaining buttermilk. Drain and repeat this process until the water is clear. If you’re using salt, put the butter onto a plate and sprinkle the salt over the top then mix it into the butter.
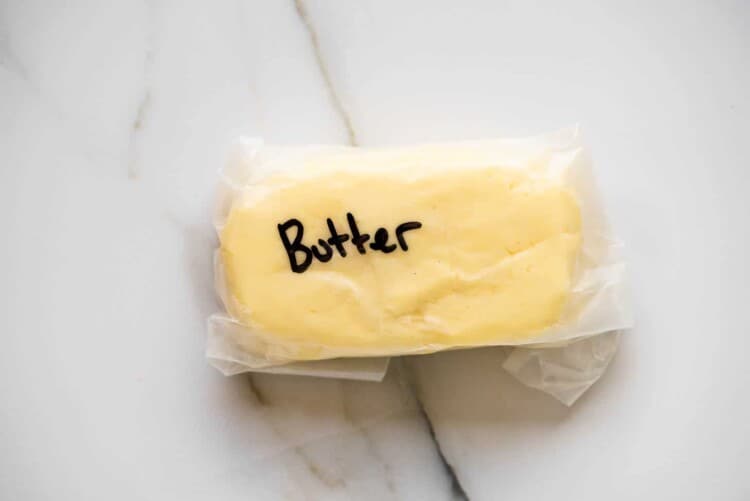
3. Storing and wrapping your butter
Voila! Your butter is ready! You can shape it using your hands and either enjoy it right away or store it wrapped in waxed paper or a jar in your fridge for up to two weeks. While making butter at home is simple, here are a few things to consider in the process: There’s no need to complicate matters by using cheesecloth or muslin. A fine-mesh sieve works perfectly well for draining the buttermilk from the butter.
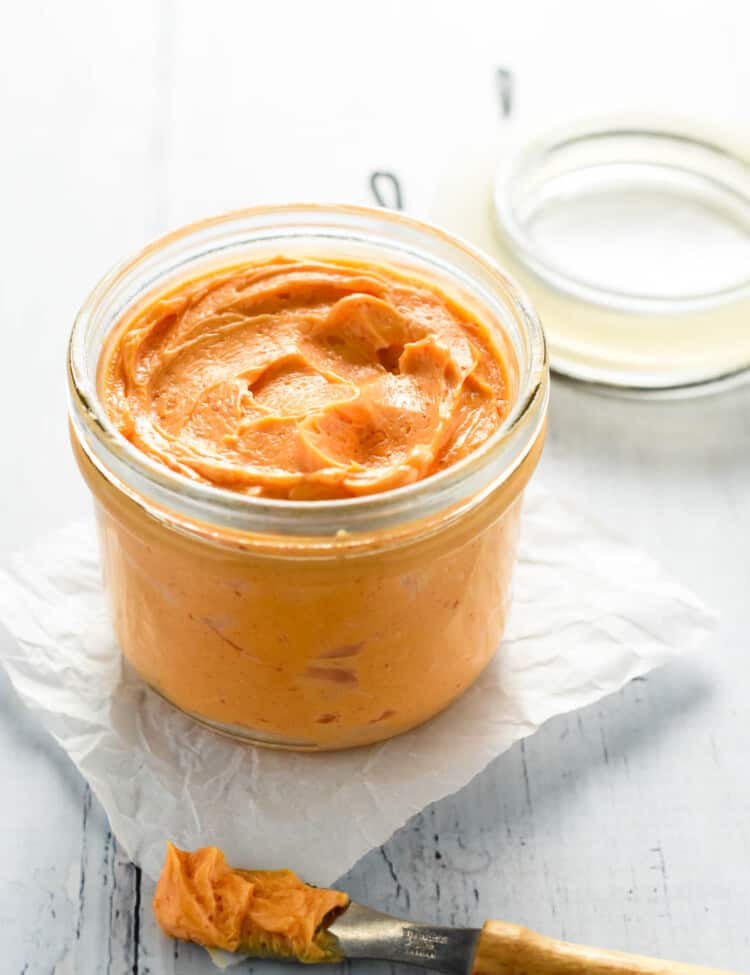
Higher quality cream = better butter. We use a 36% milk-fat cream for a creamier texture and more delicious taste. If you’re eating the butter right away, you don’t need to rinse it. A little buttermilk in it actually makes it taste amazing. If you’re storing it for any length of time, we recommend rinsing it because it will keep it from spoiling and extend its shelf life. You can flavor your butter with citrus zest, minced garlic, or freshly chopped herbs.
Homemade butter is fresh, creamy, and full of flavor. It’s perfect for using any time you’d use regular butter in cooking or baking. It has a higher fat content which also means the butter will have a higher smoke point. This makes it more stable for cooking at higher temperatures.
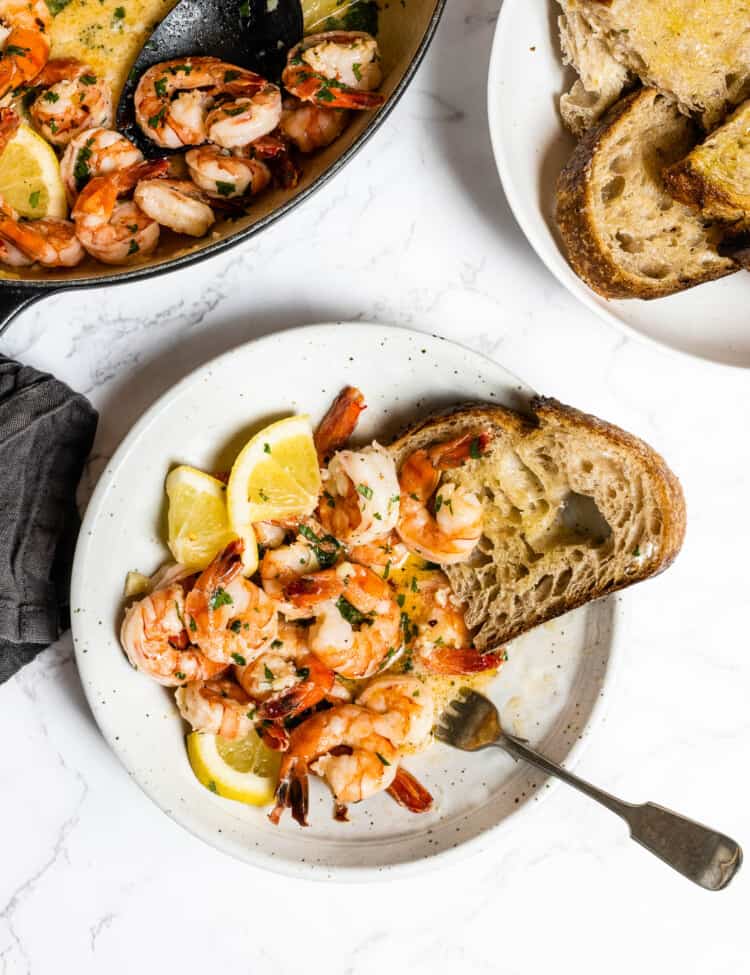
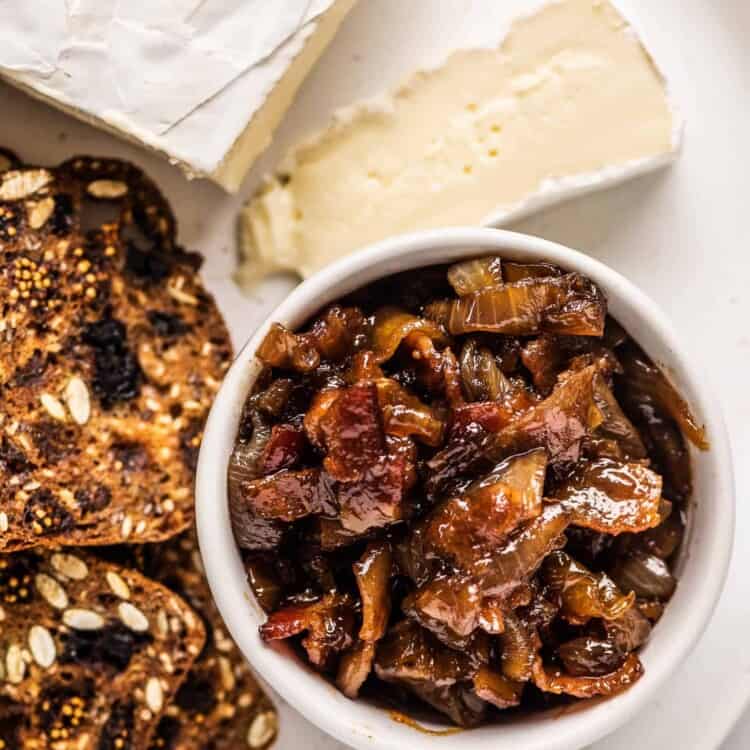
Our favorite way to enjoy it is simply to spread it on fresh bread or biscuits with a bit of jam, like our rhubarb strawberry chia jam. Here are a few other recipes that taste great using homemade butter:
Miso Butter Roasted Radishes Lemon Butter Orzo Garlic Butter Rice Grilled Garlic Butter Mushrooms Garlic Butter Asparagus Used to make Grilled Cheese with Apple Peanut Butter Banana Bread, Chocolate Chip Walnut Banana Bread, or our classic banana bread recipe.
Buttermilk Panna Cotta Creamy Lemon Buttermilk Dressing Creamsicle Orange Sherbert Apple Pancakes No Yeast Bread Classic Broccoli Coleslaw with lemon buttermilk dressing
Did you make this?
We love to see what you made! Tag @theendlessmeal or hashtag #theendlessmeal!