Homemade Fruit Gummies
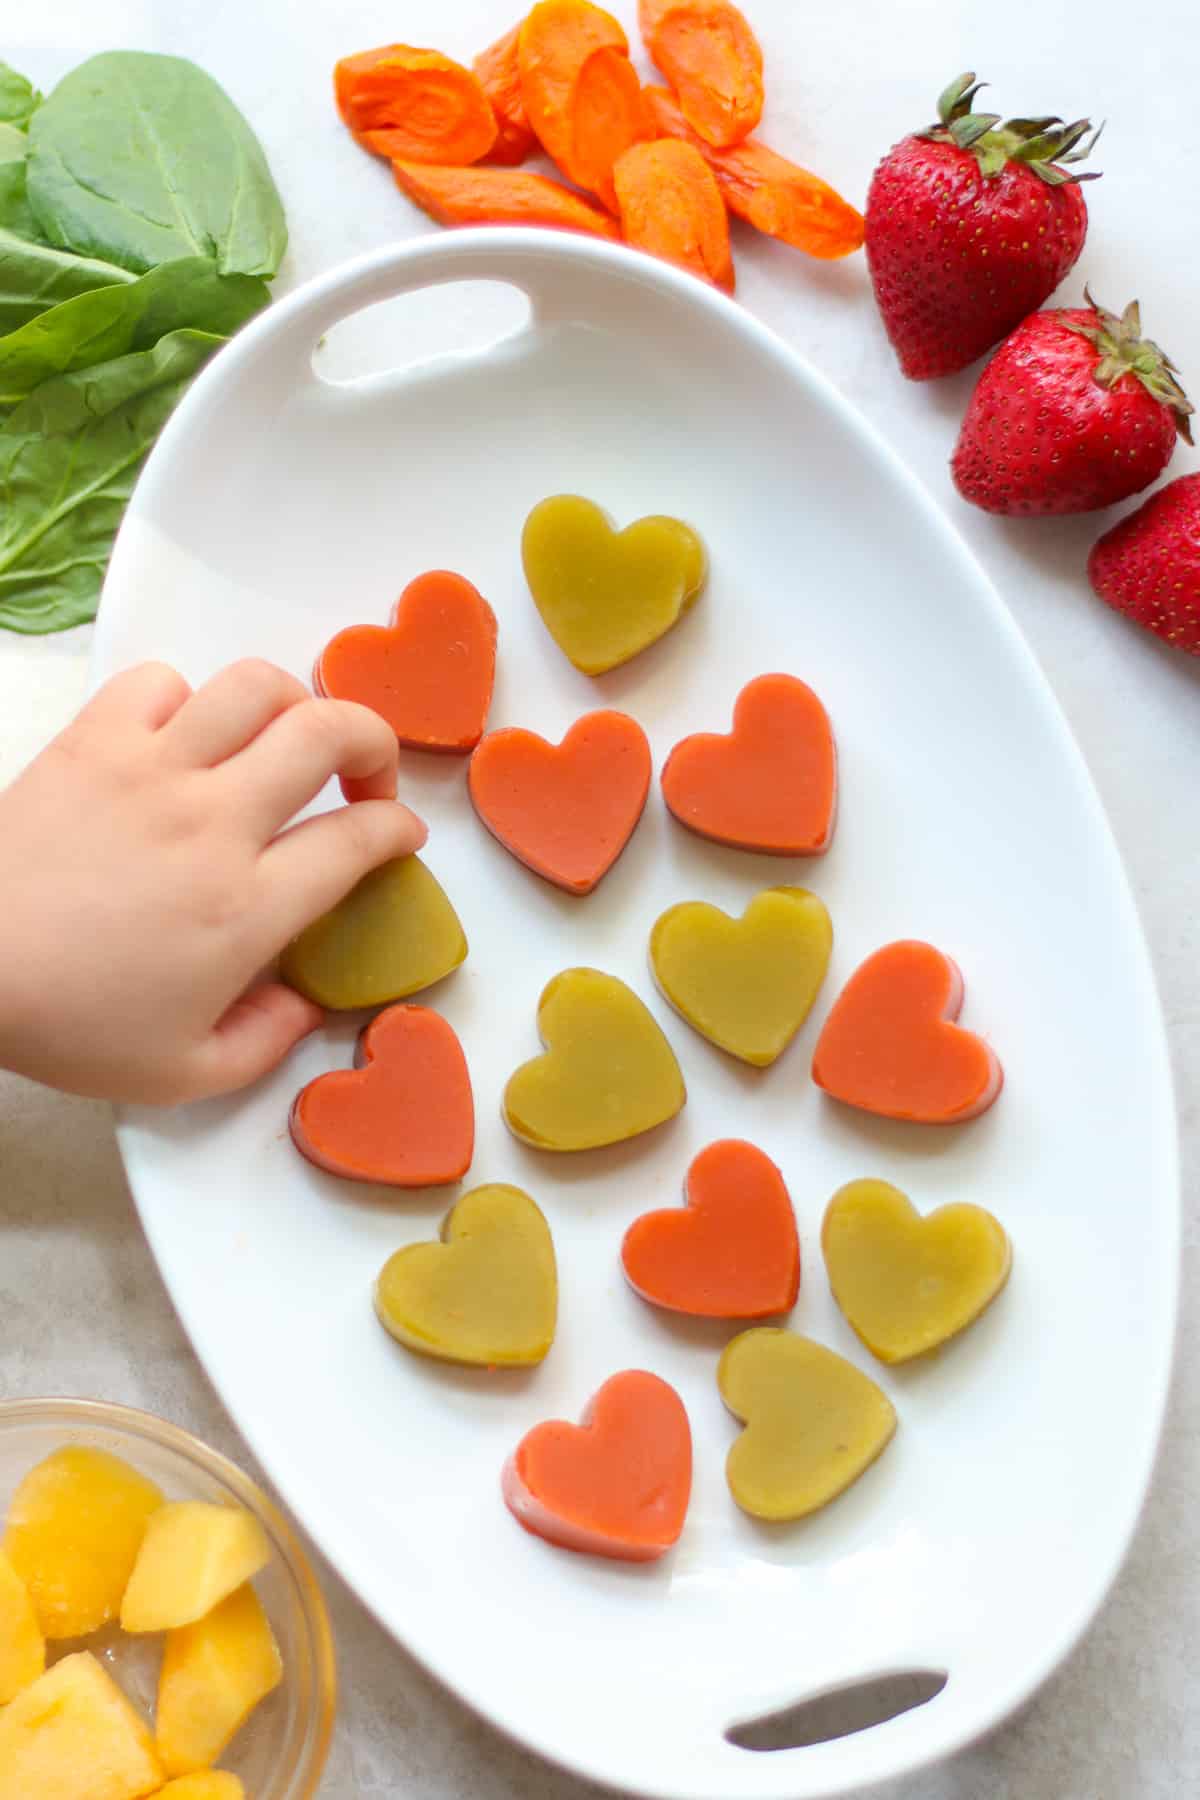
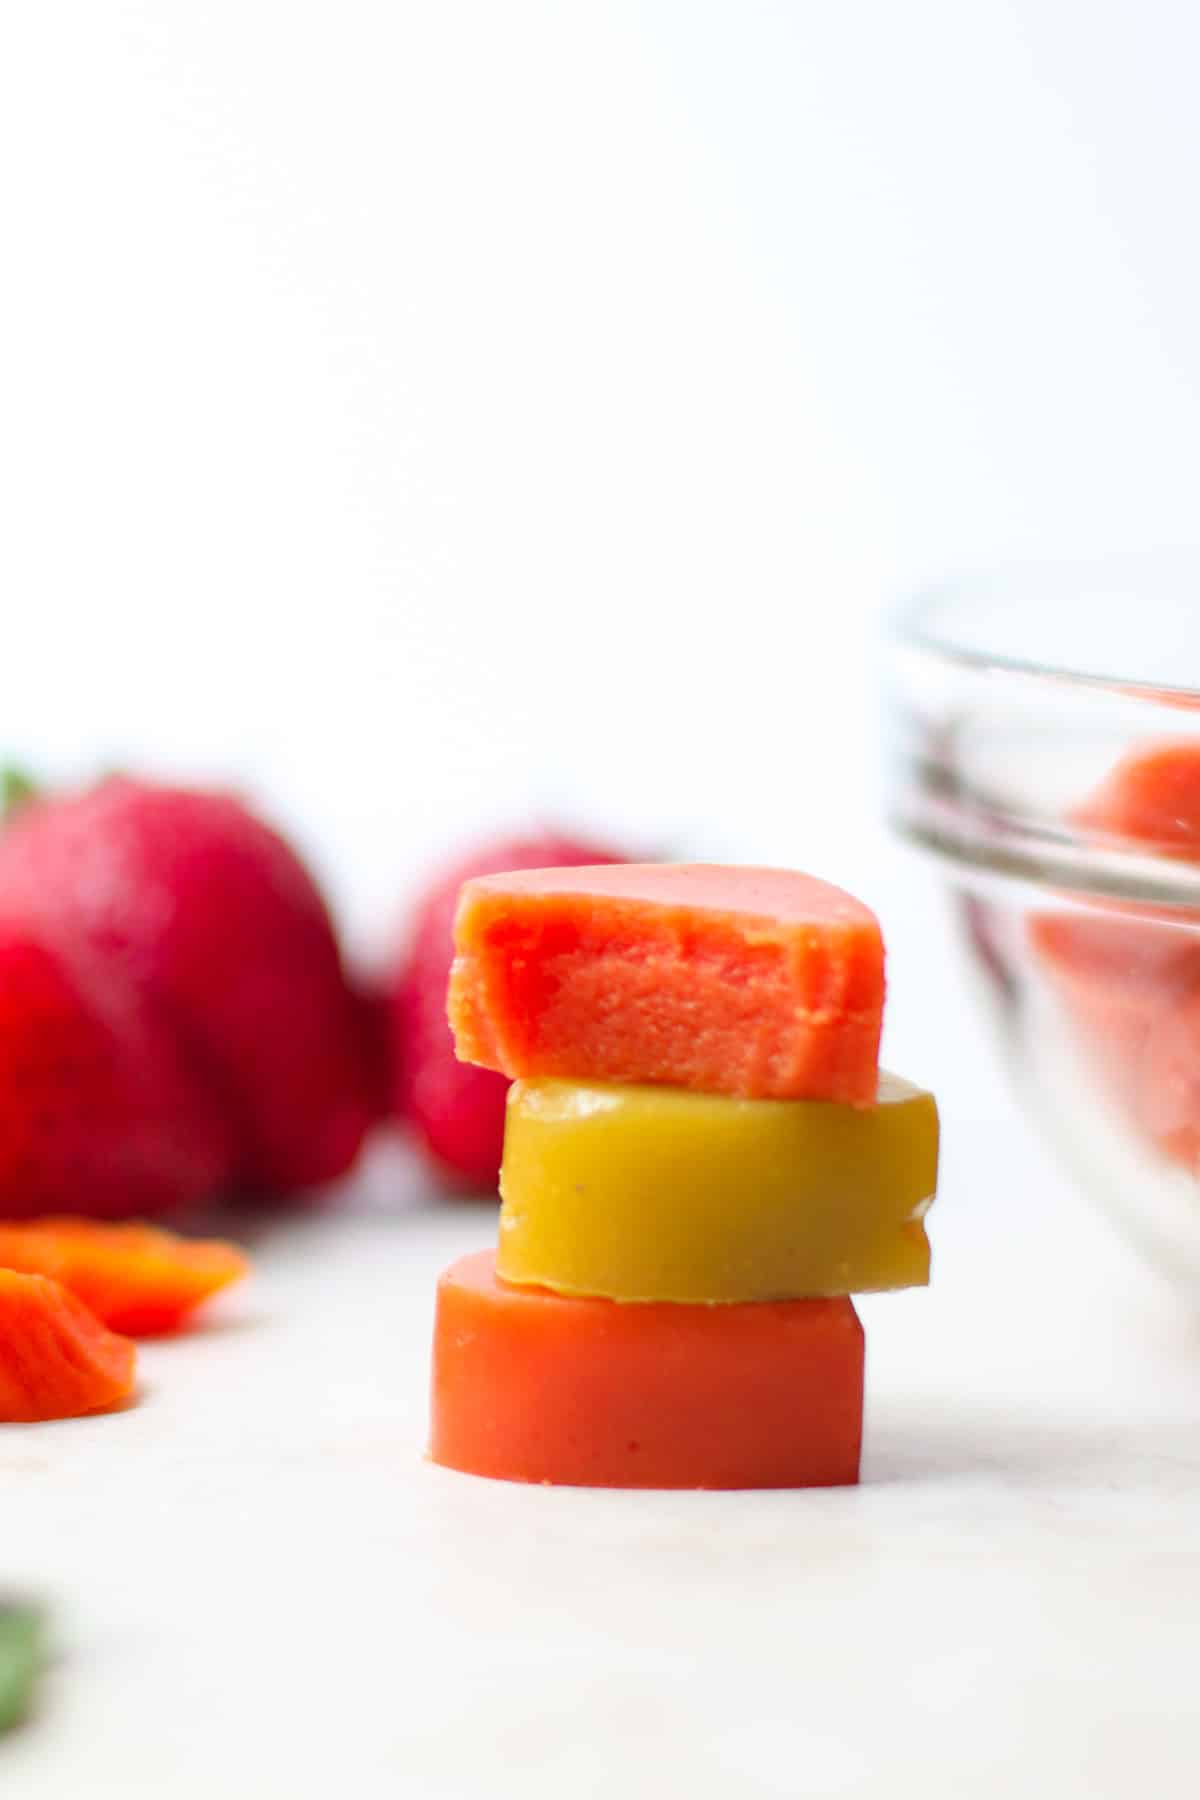
My favorite candy growing up was sour patch kids, specifically the watermelon kind. I couldn’t watch a movie at the theatre without them. I’m telling you, I was obsessed, and it truly is a miracle that I didn’t get any cavities! Mind blowing! While I’m looking forward to sharing them with my kids when they’re older, right now I take delight in creating healthy homemade gummies that provide them with a tasty and nutritious snack supporting their growth and well-being. These gummies with real fruit AND veggies took a lot of trial and error, but I’m so happy with the final result! They are made with just 3 simple ingredients and have no high-fructose corn syrup and no artificial ingredients. I will tell you upfront that the texture is not as chewy as store-bought gummies. Rather it’s more like a firm jell-o, which is intentional. Chewy, sticky gummies can pose a choking hazard for young children under the age of 4 or those who have difficulty chewing or swallowing. These fruit snacks will reduce the risk of choking while still providing a tasty and enjoyable treat for little ones. My 2-year-old LOVES these, especially the strawberry carrot version, and has no issues eating them. And here are more healthy toddler snacks that the whole family will love!
Ingredients
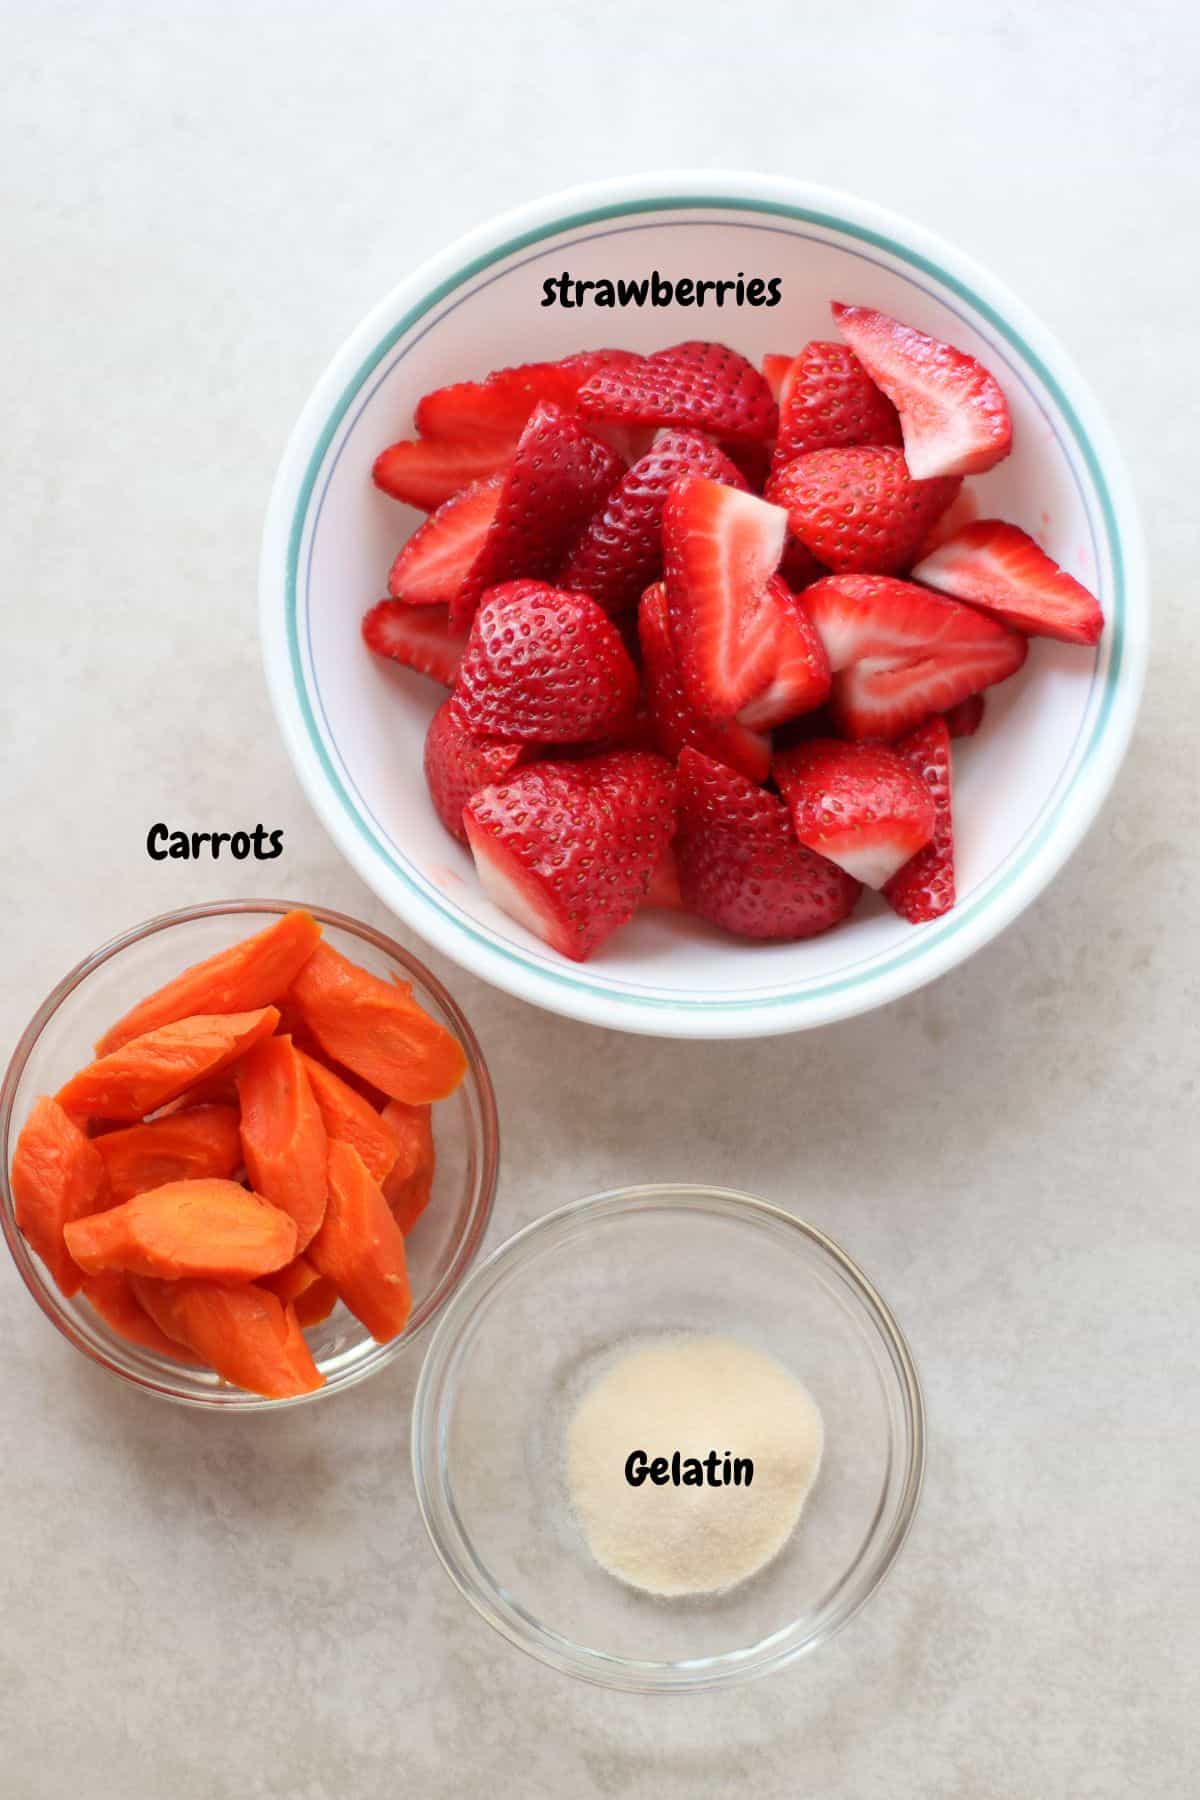
Fruits – Any fruit will work except pineapple, kiwi, and papaya. These fruits contain enzymes that can interfere with the gelling properties of gelatin. Vegetables – Some of my favorites are carrots, spinach, beets, zucchini, sweet potato, and pumpkin. Unflavored gelatin powder – I highly recommend this grass-fed beef gelatin. It’s perfect for making mango pudding too! Honey or maple syrup (optional) – add depending on the sweetness of your fruit or your taste preference.
Step-by-Step Instructions
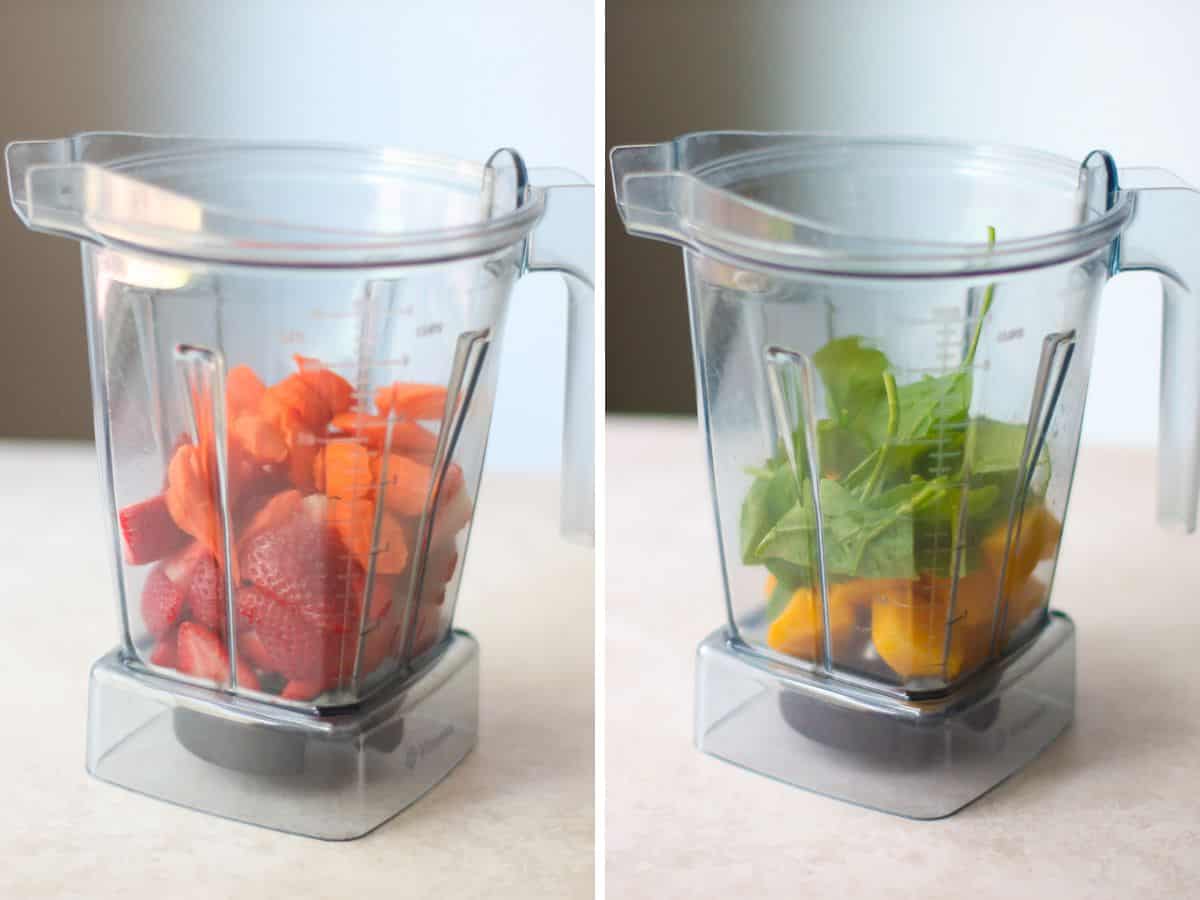
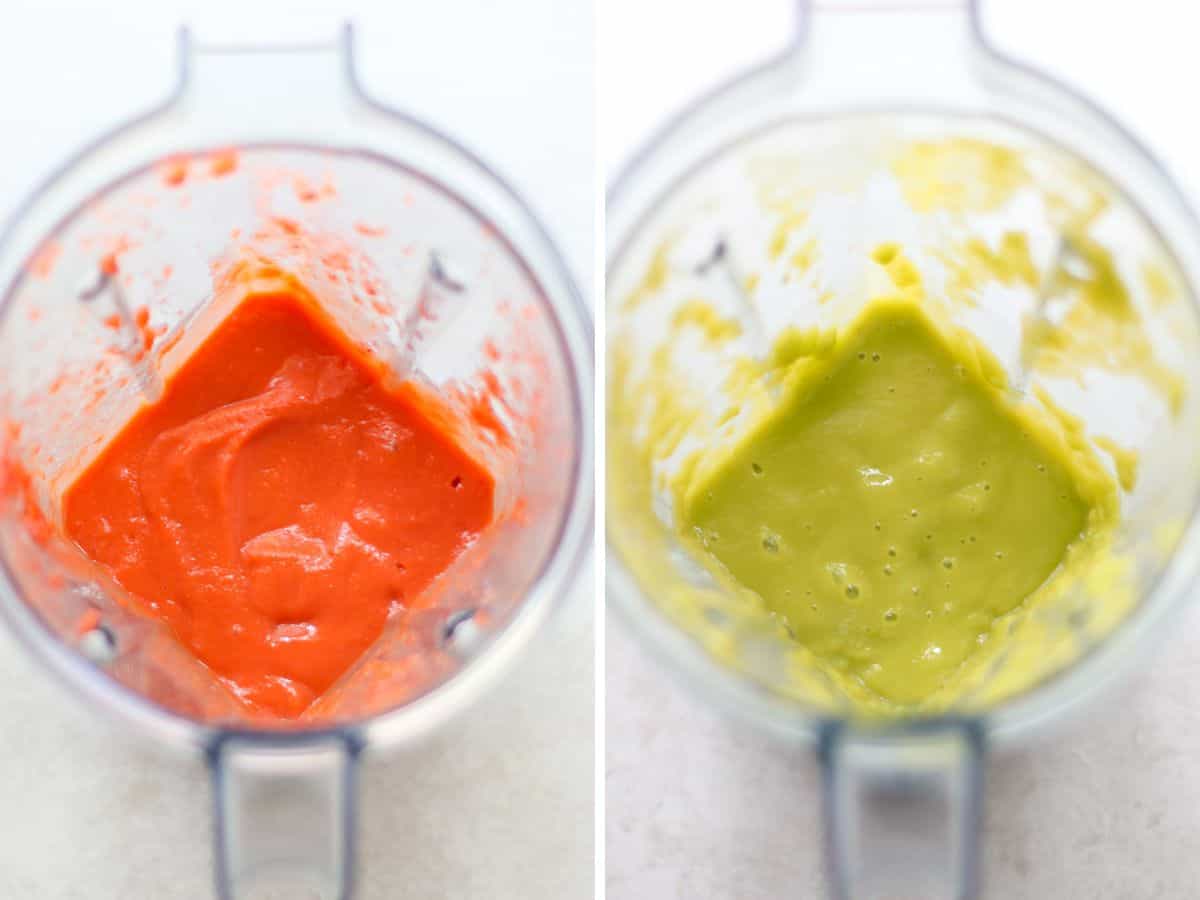
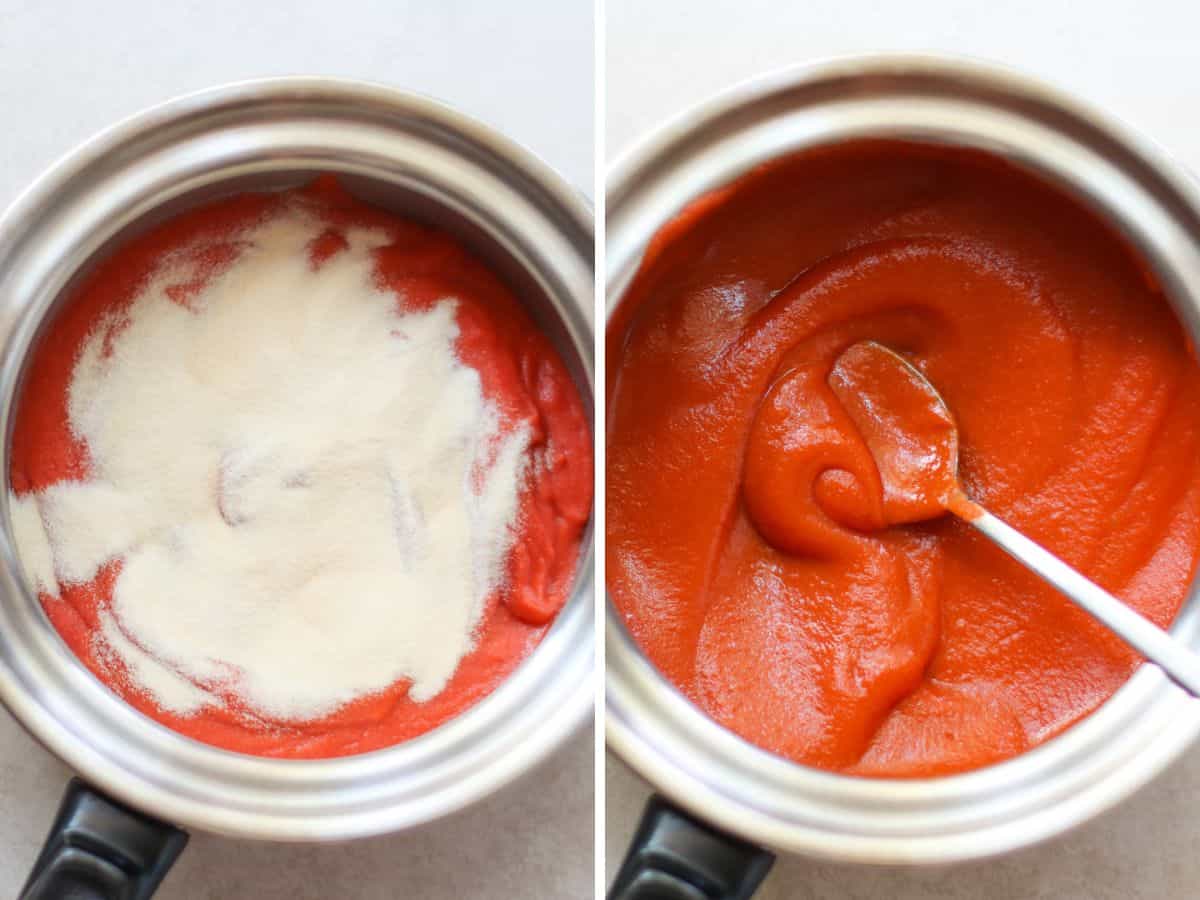
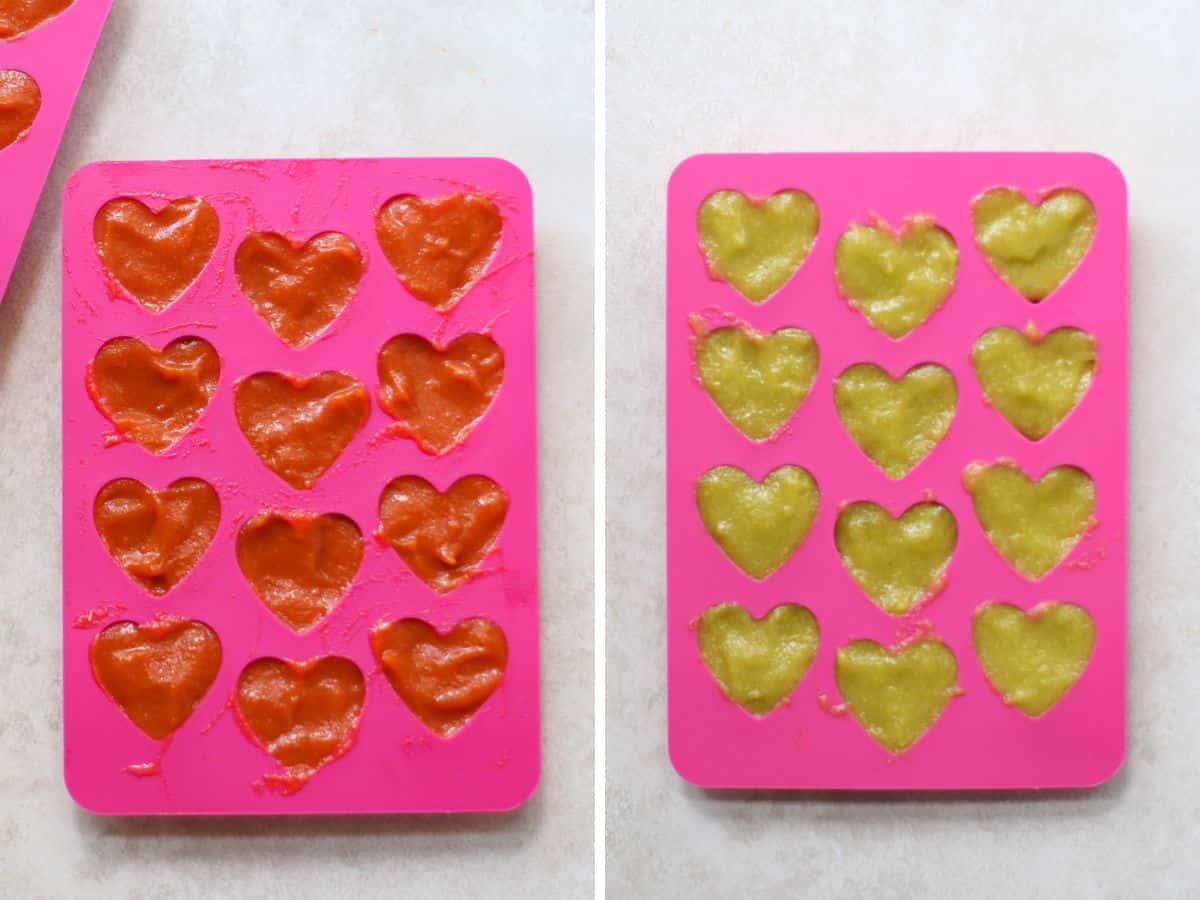
Add your fruits and veggies into a high-powered blender. Blend until completely smooth. Optional: taste and add a little honey or maple syrup, as needed. Add the smooth mixture to a small saucepan. Sprinkle the gelatin evenly on top and let it sit for 3-5 minutes. Turn the stove to medium heat and whisk until the gelatin completely dissolves and no clumps remain. Pour into a silicone mold of choice and refrigerate for at least 3 hours, or until set. Pop them out of the mold and transfer to an airtight container.
Tips for Success
Feel free to experiment with different fruits and vegetables to discover new flavor combinations! Depending on your blender, you may need to strain the fruit mixture if you desire a perfectly smooth consistency. Do NOT boil the gelatin and fruit mixture. Work quickly – Once the gelatin has dissolved in the pan with no lumps, pour into your mold as quickly as possible as it will continue to thicken. As mentioned, the consistency of these gummies are softer and less chewier than the store-bought fruit snacks. If you desire a chewier texture, you can try adding up to 3 tablespoons of gelatin. I wouldn’t add more than that as they will start to become tough or even rubbery. ALWAYS supervise your little one while they are eating.
Equipment
You will need a high-powered blender to make these gummy snacks. It is such a versatile kitchen tool that can help you prepare a wide range of recipes quickly and easily! It’s perfect for smoothies, soup, sauces and dips, kid-friendly muffins, pancakes, and even frozen yogurt. As for the mold, there are so many fun and adorable options available. While gummy bear molds are the most popular, you can turn these into any fun shapes you wish. I have a soft spot for anything heart shaped and this silicone mold is so great. You can use it to make chocolates or any fun bite-sized treats. If you don’t have a mold, you can transfer to a square pan lined with parchment paper. Once refrigerated and set, you can cut with mini cookie cutters.
Storage
Transfer the gummies to an airtight container and keep in the refrigerator for up to 2 weeks. You can freeze but I recommend enjoying within the allotted time for best flavor and texture. Did you make this recipe? Leave a rating below and let me know how you liked the recipe! Your feedback means so much to me!