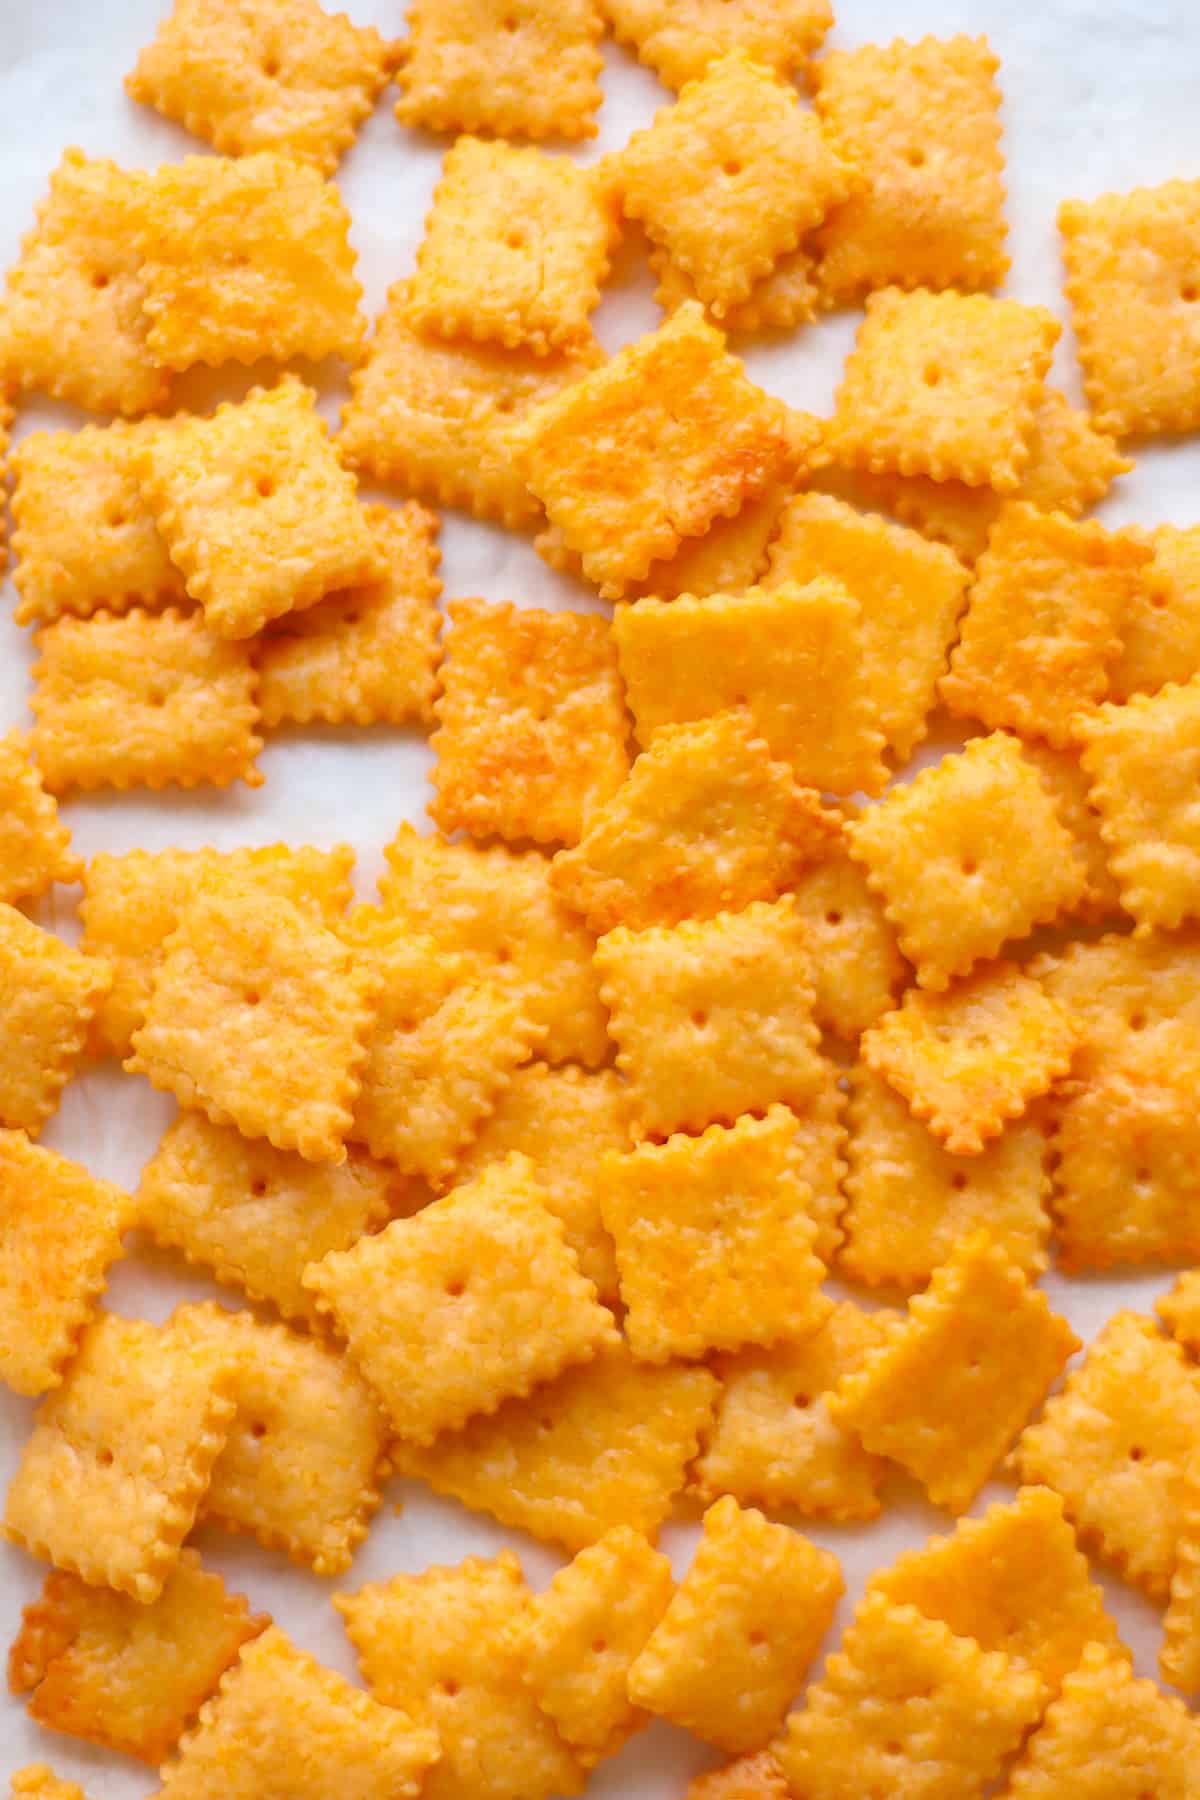
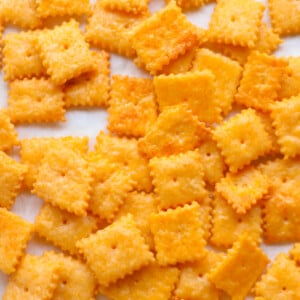
Cheese Crackers
My kids absolutely adore cheez-its just like their mama, and while I’m all about the convenience, but there’s something satisfying about whipping up our own batch. Plus, it’s a chance to add in a little extra goodness. These homemade cheese crackers? They’re like the deluxe version of the store-bought kind, thanks to using top-notch ingredients. And the best part is they’re SO easy to make, with ingredients you likely already have in your pantry. So don’t be shy. Let’s make some crunchy goodness together :). Or if you or your child prefer a softer cracker, you can do that too! You’ll probably find yourself making these repeatedly—they’re just that good! Afterwards, you should totally try these Easy Homemade Graham Crackers and sweet potato crackers too. You won’t be sorry! While both of these homemade versions are simple to make, if you are just looking for something convenient and on the healthier side, check out the Best Crackers for Babies and Toddlers I’ve put together for you.
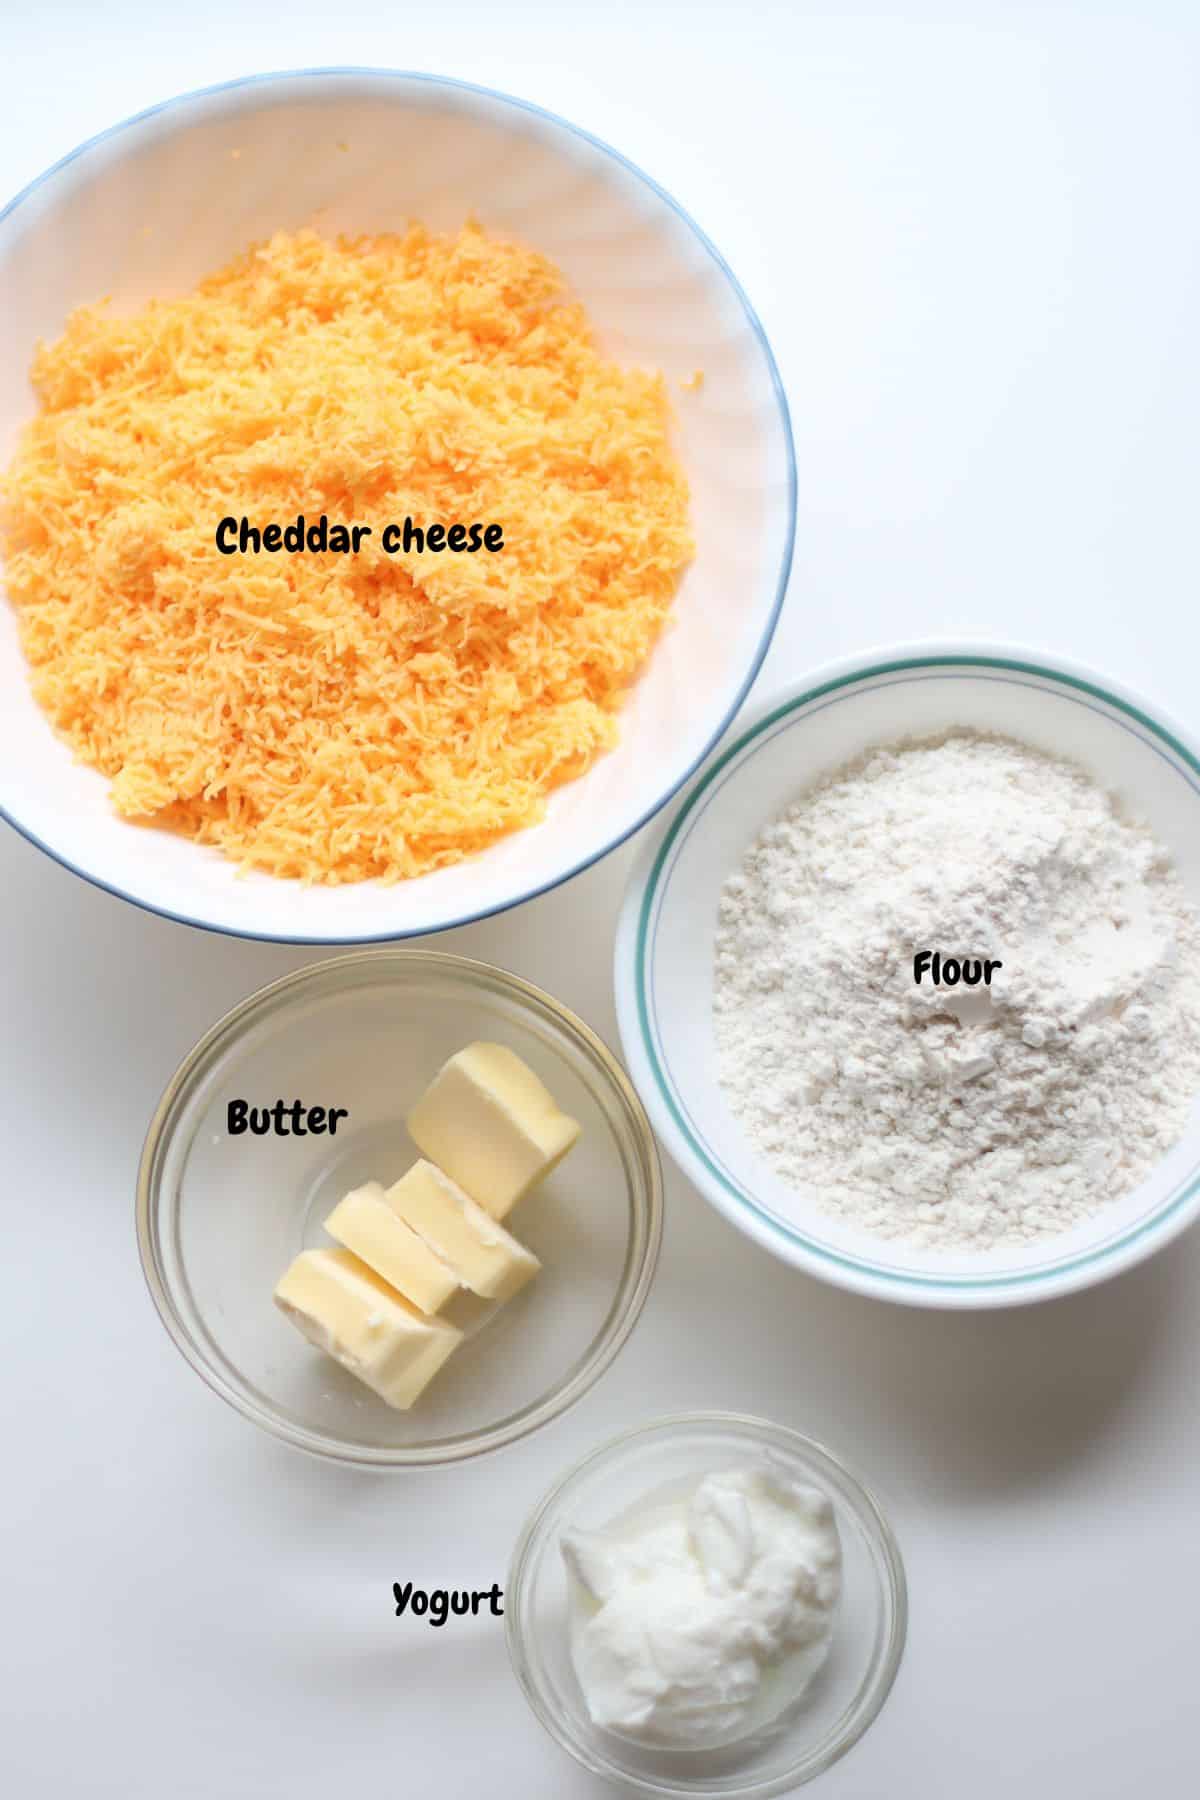
Ingredients
I am highlighting just the ones that need further explanation. The complete list is in the recipe card below.
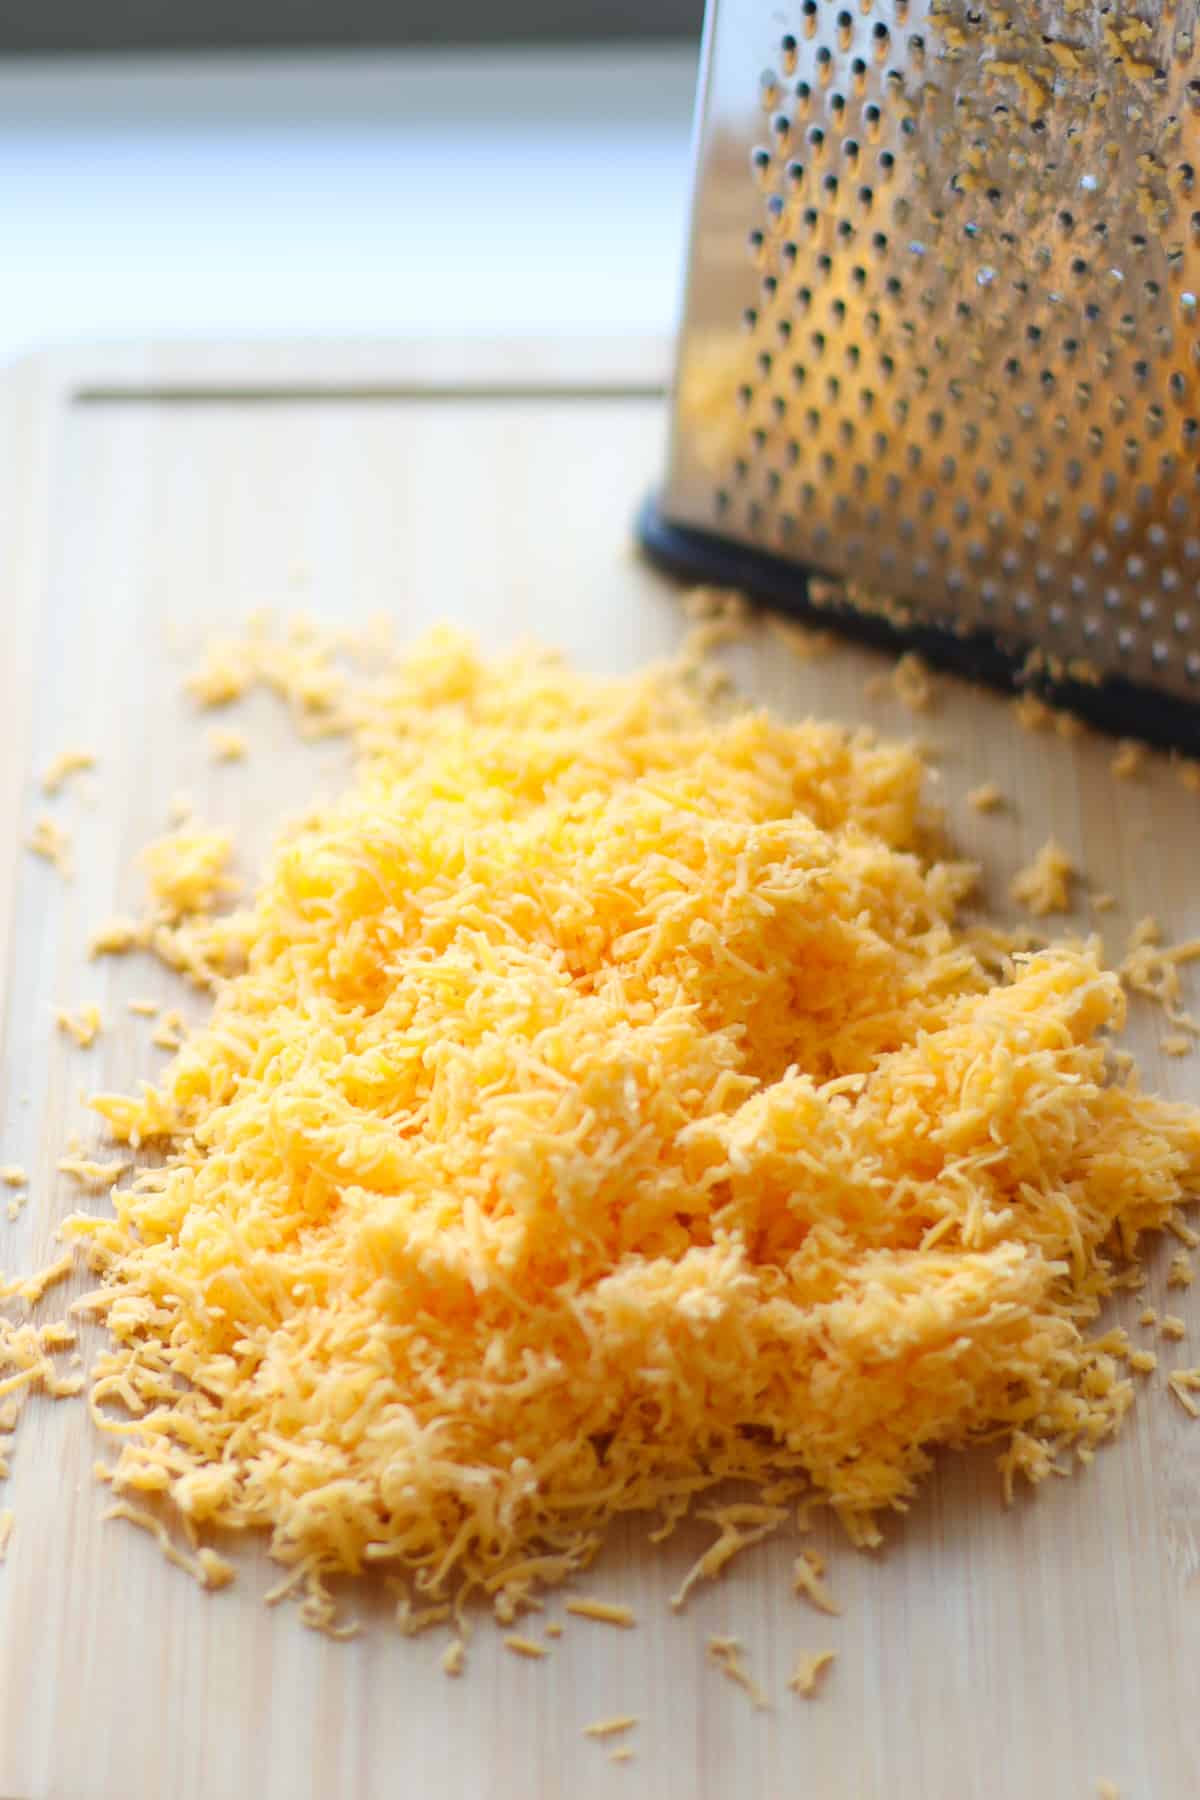
Cheese – obviously THE most important ingredient for these homemade cheese crackers so opt for high quality sharp cheddar cheese. It makes all the difference! Butter – you will need COLD, unsalted butter. Flour – I like to use white whole wheat flour for added fiber and nutrition but feel free to use all purpose flour. I don’t recommend using whole wheat flour as the crackers will be dense, unless you prefer it. Plain yogurt – It adds moisture to the dough as well as a boost of protein. You can use Greek yogurt but note that it will impart a slightly tangy taste to your crackers.
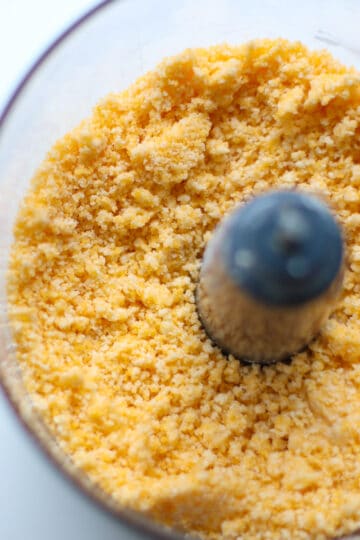
How to Make Homemade Cheese Crackers
Tips for Success
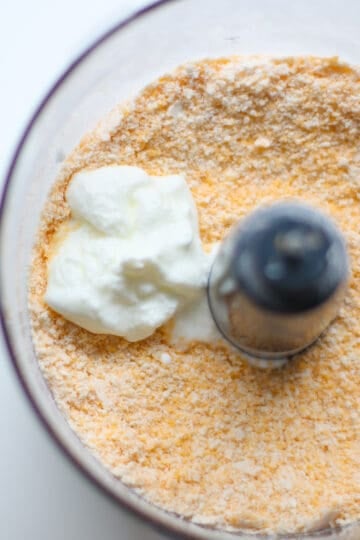
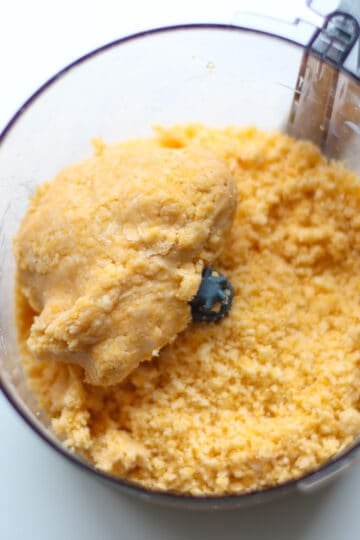
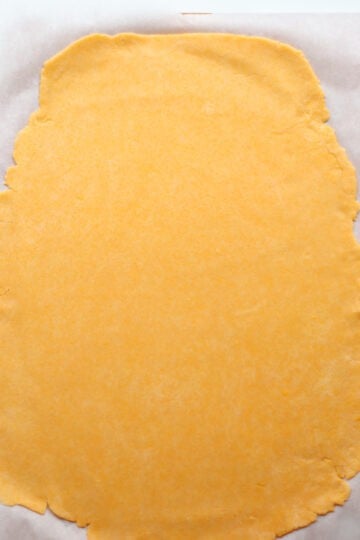
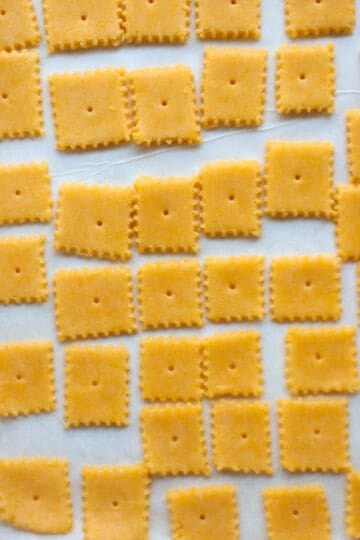
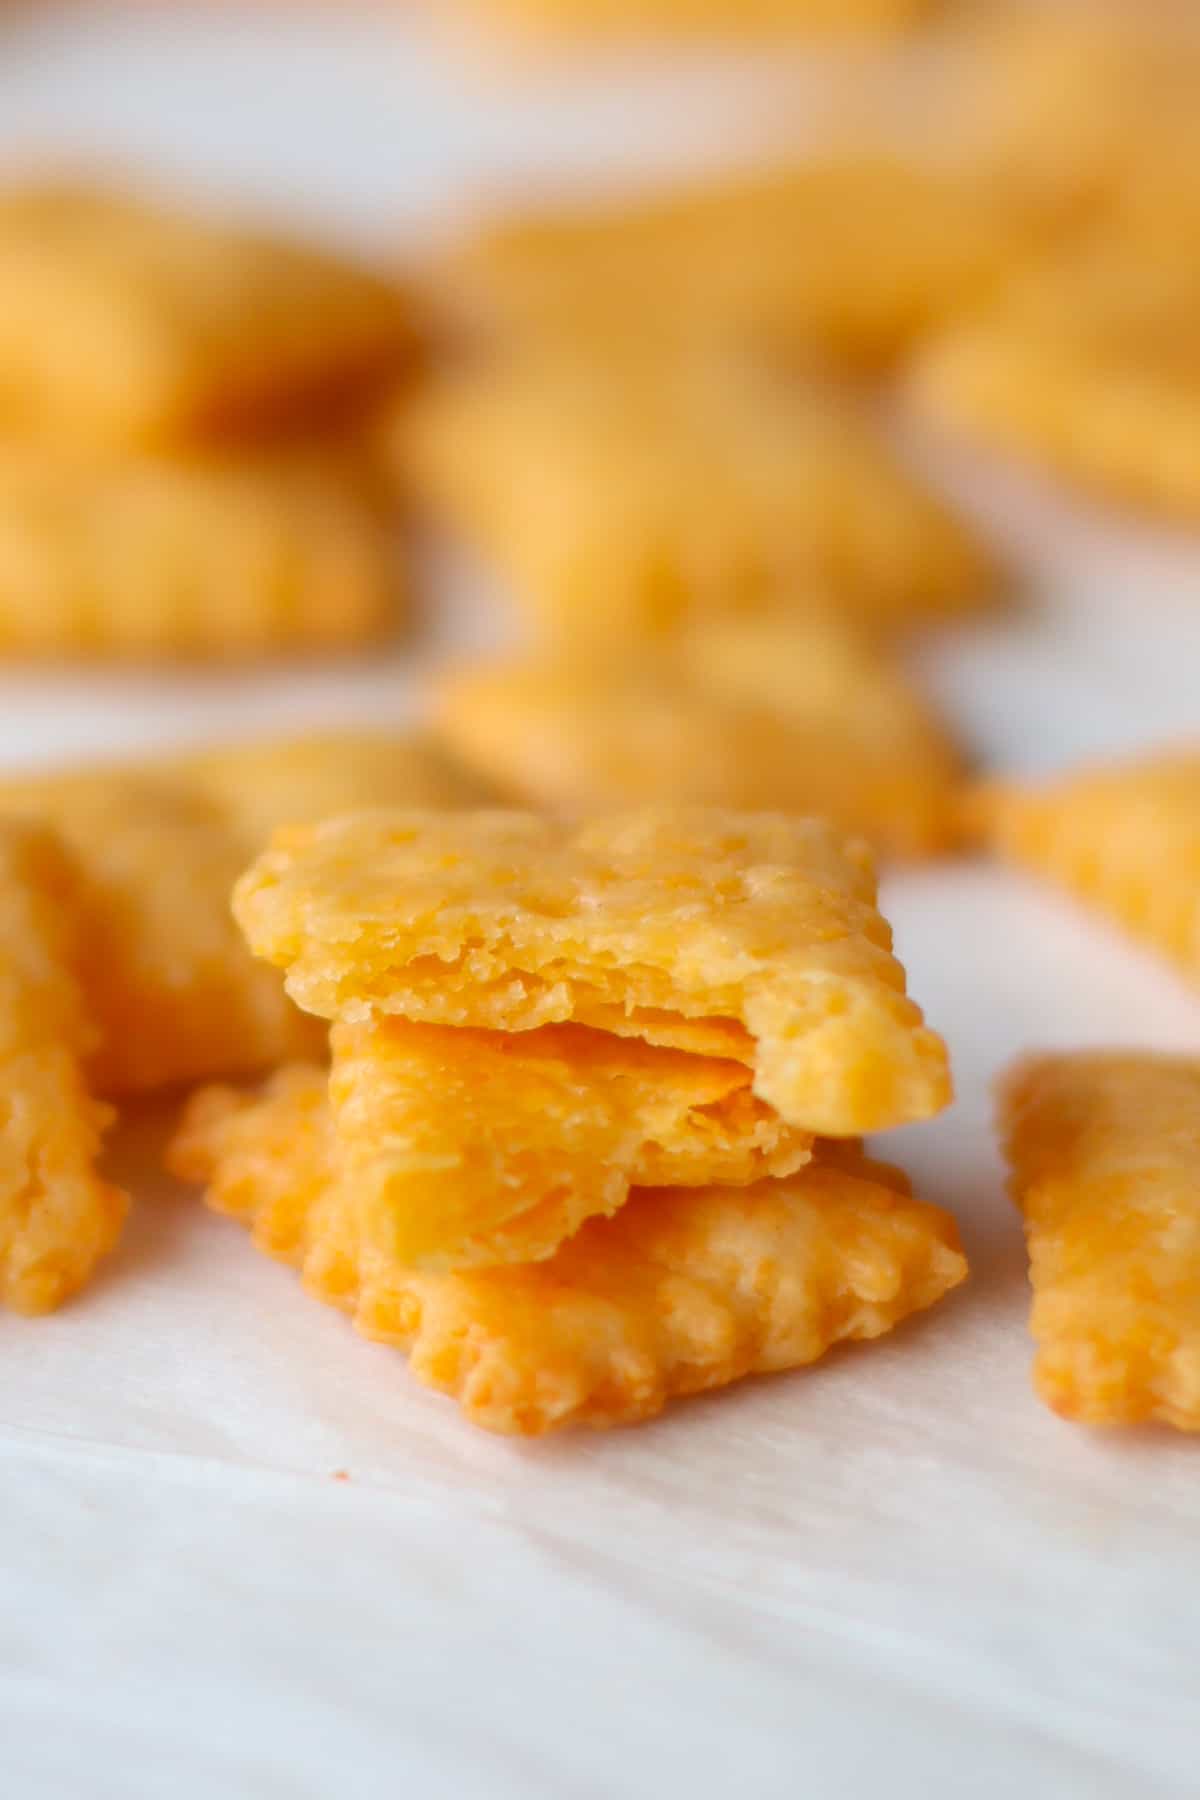
Start with freshly grated cheese for the freshest and most flavorful homemade cheese crackers. Use a box grater or a food processor with a shredding disc. Adjust the yogurt amount as needed – Depending on the brand of yogurt you use as they vary in moisture levels, you may need to add another tablespoon of yogurt if your dough is too dry. It should feel solid, not sticky! If you need some direction, here are my favorite yogurts for babies. The thickness of the dough matters! The thinner you roll out the dough, the crispier the crackers will get so adjust to your liking. One of my kids like crispy crackers while the other one prefers them soft and doughy. So I divide the dough in half. One batch I roll out super thin, while the other I roll out to about 1/4-1/2 inch thickness. Keep an eye on the crackers while they bake to prevent them from burning. They can go from golden brown to burnt quickly. Allow the crackers to cool completely before storing them to maintain crispiness.
Variations
Here are some fun variations you can try to customize your homemade cheese crackers:
Equipment
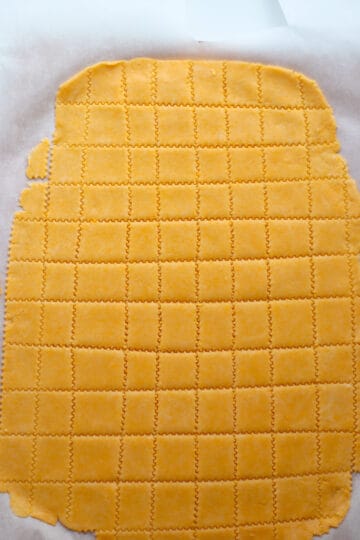
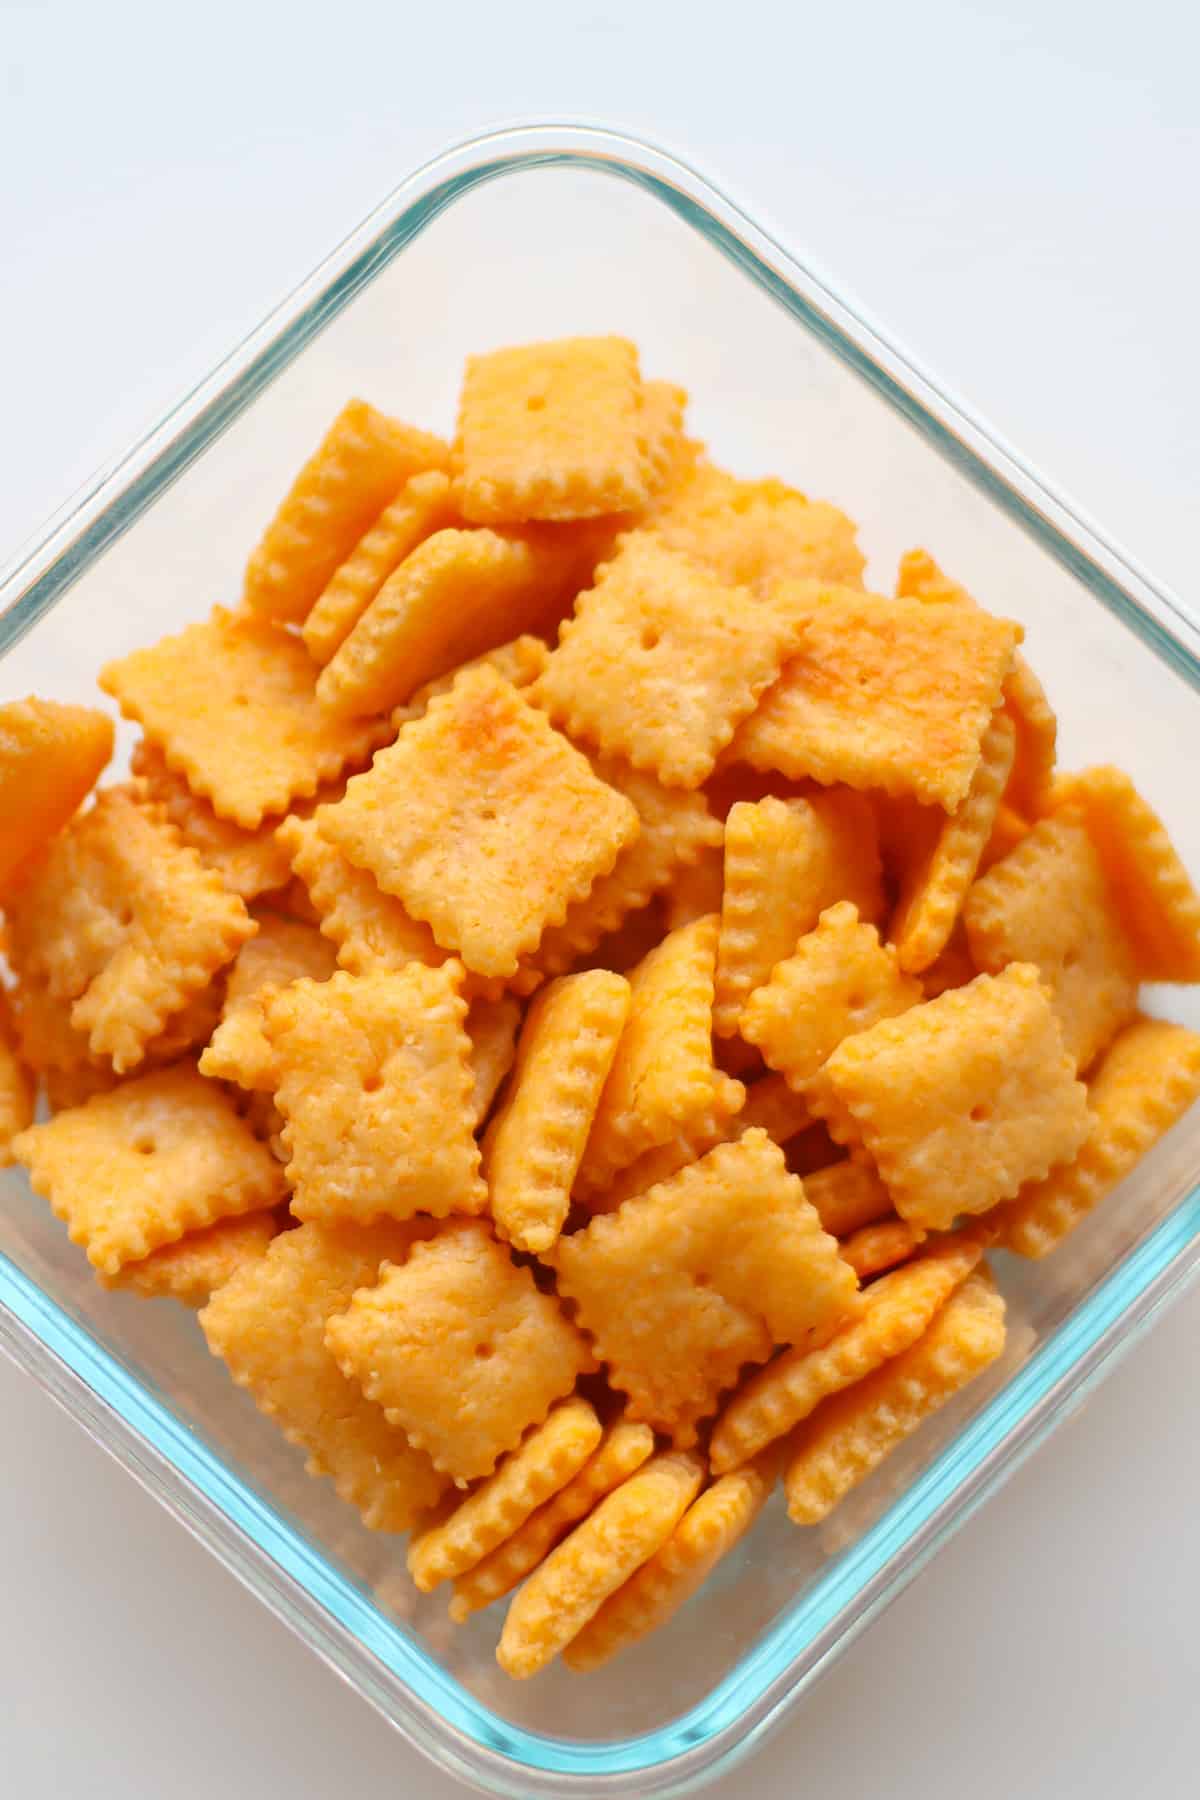
You will need a food processor to mix the cheese with other ingredients to form the dough for the crackers. It will create a uniform dough without overworking it. I am absolutely in love with this food processor. It’s the perfect size, powerful, and super versatile. For cutting into squares, grab a pizza cutter or add a special touch with this fluted pastry wheel (which is what I’m using here). And these are seriously my favorite sheet pans, and I’ve tried a ton! They are super durable and conducts heat efficiently and evenly. This means your crackers will start baking right away and stop baking as soon as you pull them out. It also doesn’t warp, unlike all the other pans I’ve tried where one side becomes raised higher than the other, resulting in uneven cooking.
Storage
Store fully cooled leftover crackers in an airtight container at room temperature for up to 5 days or in the refrigerator. You can also freeze for up to a month.
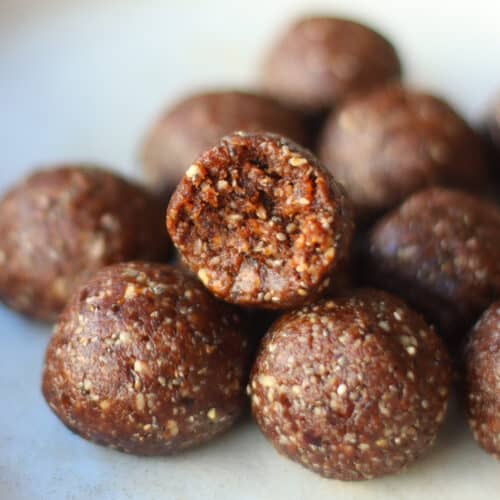
More Healthy Homemade Snacks
Did you make this recipe? Leave a rating below and let me know how you liked the recipe! Your feedback means so much to me!