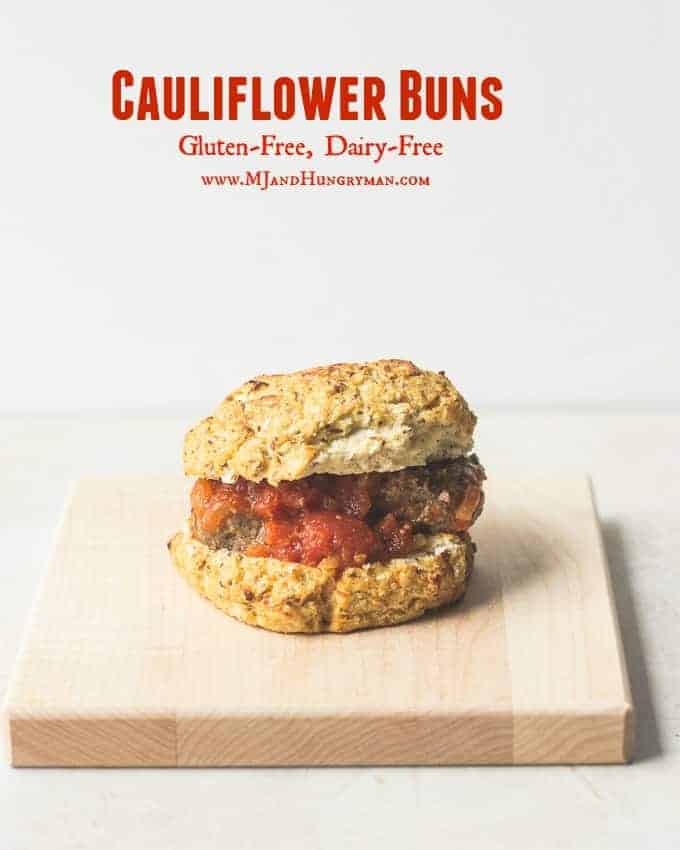
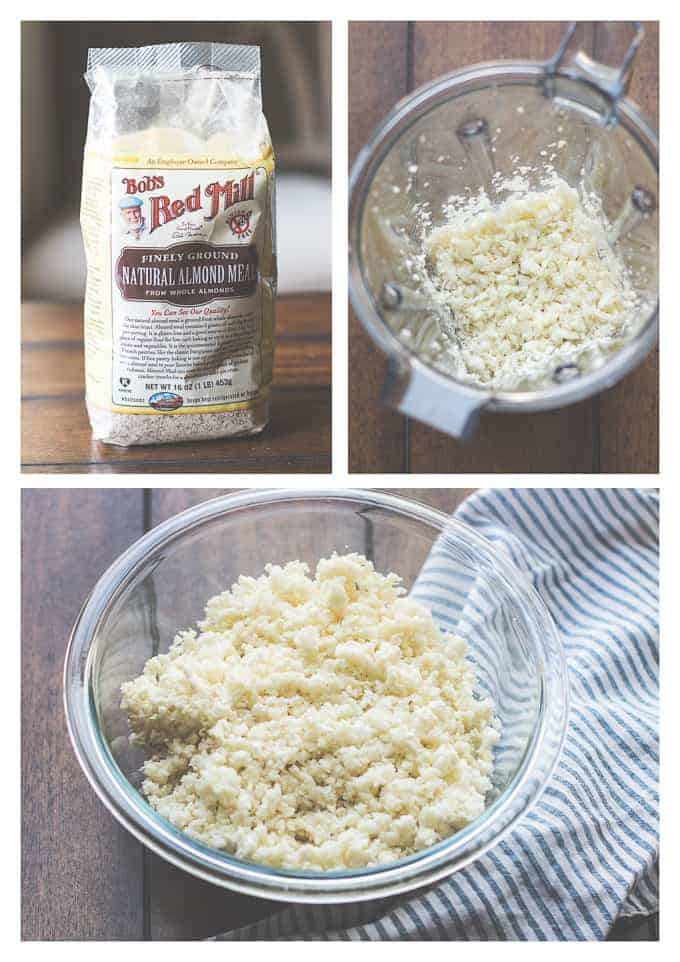
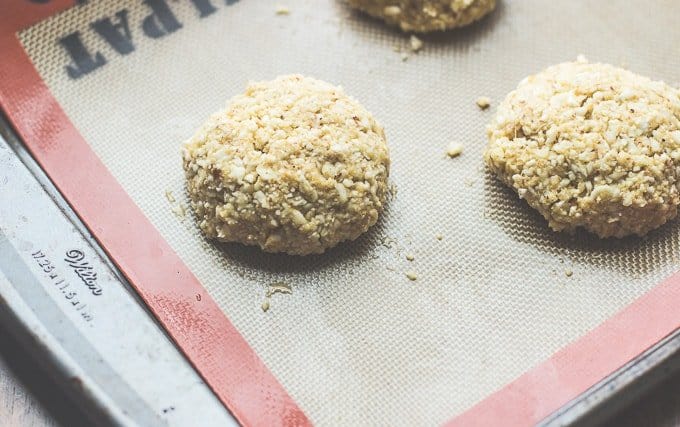
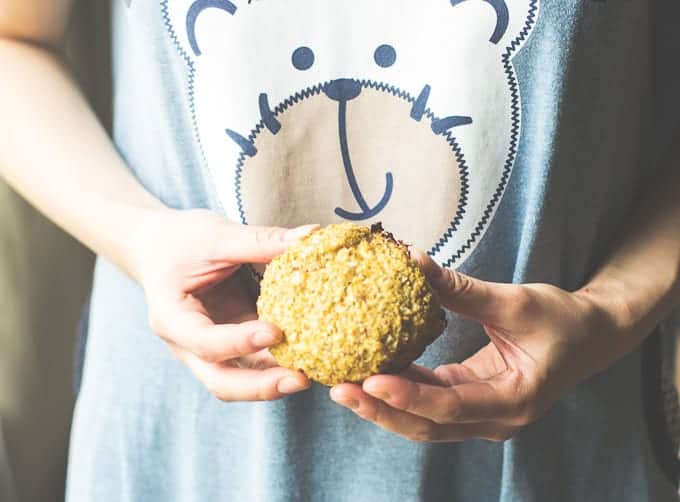
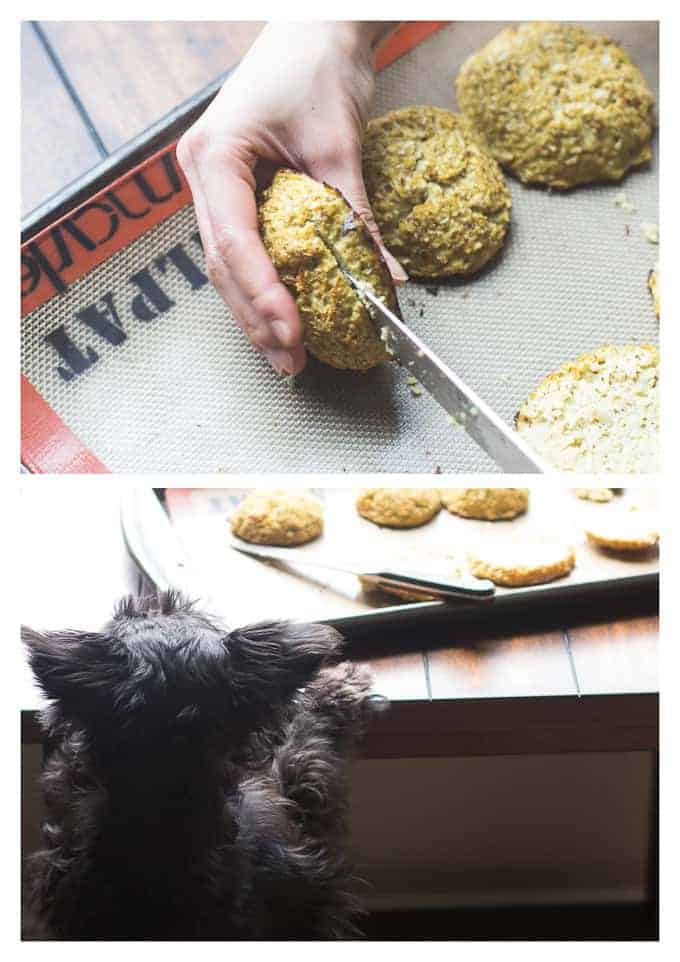
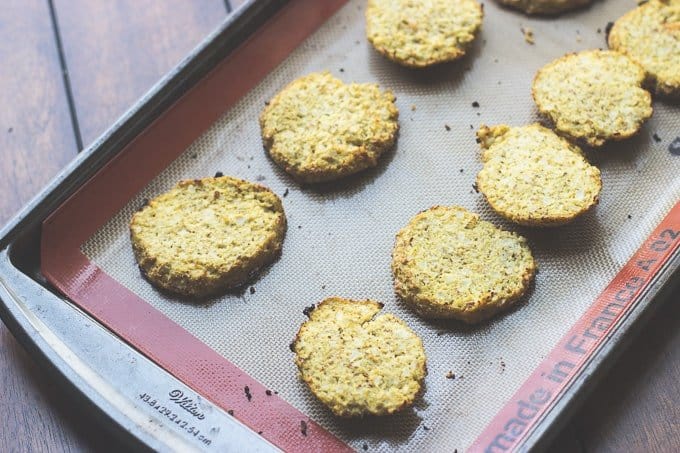
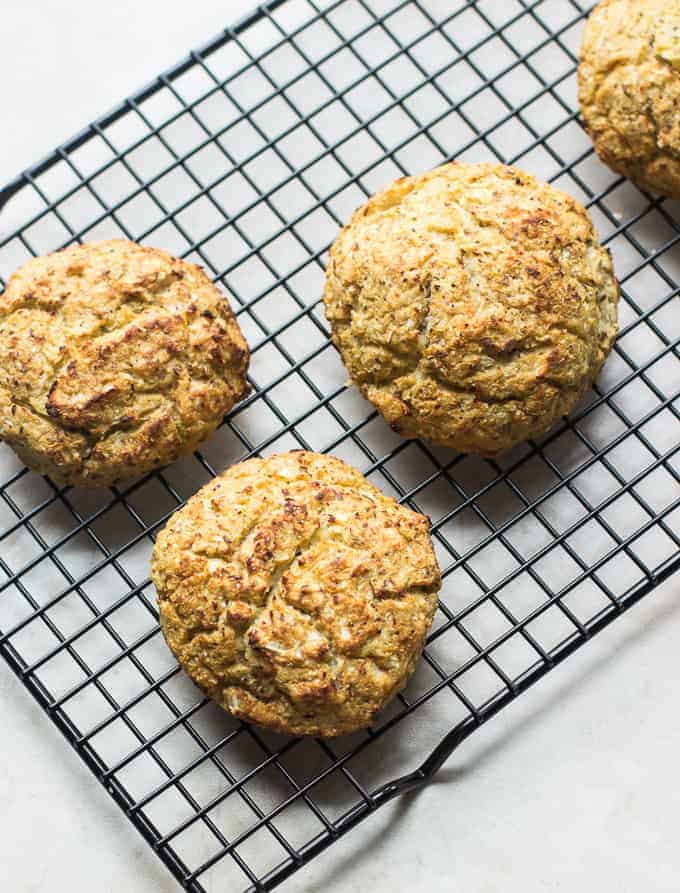
As I’ve mentioned, the majority of the clients I counsel have multiple food allergies/sensitivities, with gluten and dairy being two of the most common triggers. Of all the foods, bread seems to be THE one item that most of them have the hardest time parting ways with. No more hamburgers/sandwiches? Pizza? Thankfully, there are some wonderful gluten-free options widely available at stores now. But if I really want to blow their minds, I can introduce them to the wonderful world of cauliflower and all its creative applications – pizza crust, breadsticks, bagels, rice, etc. The problem I commonly ran into whenever I tried making these cauliflower bread substitutes is that they often fell apart. Now, even if I mustered up all of my arm strength to squeeze out as much of the water as possible, they didn’t always hold their shape for some reason. And that just doesn’t fly when you want to stuff them with fixings and pick them up with your hands at some point. If you’re fine with the fork and knife action, however, then you should have no issues. Thus began my non-mushy cauliflower bun experiment. Yes, I had many.many “failures”, BUT luckily, their destiny was not the trash can. They were all pretty darn tasty and made for great additions to salads (as crumbles) or other random snacks/meals I had prepared during the week. I’ve found a new appreciation for this cruciferous vegetable, that’s for sure. Surprisingly, I didn’t get sick of it (I impress myself from time to time). The process always began with cutting the cauliflower into florets and pulsing them in the food processor. Then, I would cook the “granules” using various methods, such as microwaving, steaming, or baking in the oven, and squeeze the heck out of them once they had cooled down. As I said, the results were hit or miss. Perhaps my arms tired out from all the squeezing. Ironically, things started to turn around when I came across this recipe that required no cooking. Bless you, Lexi! It totally simplified the whole process. The key is to not over pulse in the food processor to prevent too much liquid from being released. Just so you know, when you shape the “dough” into balls, they will still be a bit mushy. Don’t worry. Just try to pack them as tightly as possible, flatten slightly (and gently) with your hand, place in the oven, and watch the magic happen. Yes! You can pick them up with confidence ;). Even my bear is happy and proud. The next step is to cool for at least 10 minutes before slicing in half. Otherwise, the buns will be too soft. Don’t walk away for too long though. They are prone to attracting company…
To ensure that both the top and the bottom buns are firm, broil them on high for 3-5 minutes, sliced side up. As far as seasoning goes, the sky’s the limit. I heart cauliflower + curry powder + smoked paprika, so that’s what I went with. Feel free to experiment! Now all that’s left is to figure out what you want to put in between these buns. Of course, they are might tasty “naked.” Did you make this recipe? Leave a rating below and let me know how you liked the recipe! Your feedback means so much to me!